
Pruning
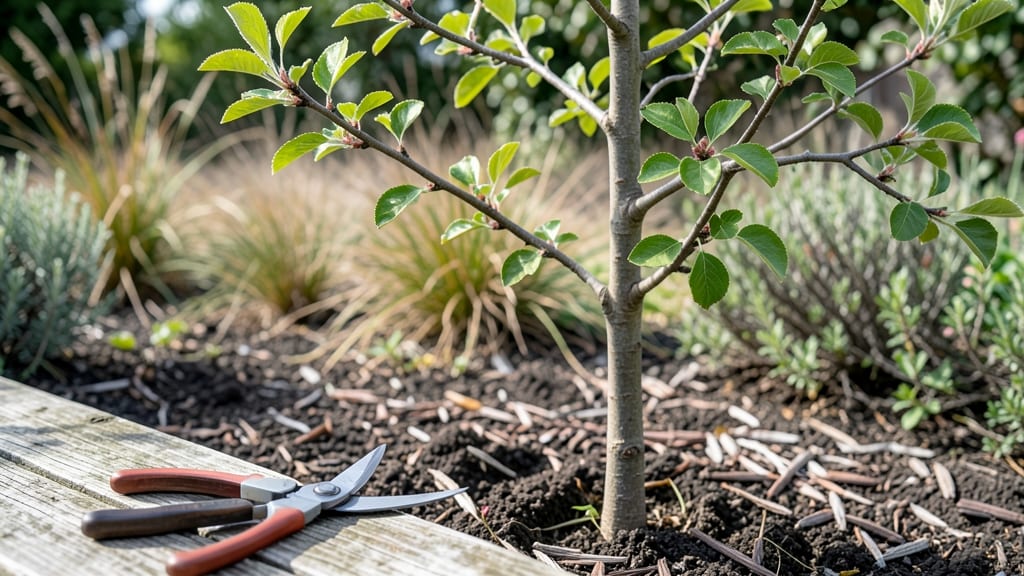
Pruning young fruit trees isn't just about shaping—it's about setting them up for a lifetime of strong growth and abundant harvests. 🌱 I learned the hard way when my first peach tree grew lopsided, producing only a handful of fruit on one side.
The right cuts now mean a tree that supports itself, resists disease, and bears fruit evenly every season.
You'll need just three things: sharp pruning shears, a clean saw for thicker branches, and a pair of gloves to protect your hands. Timing matters too—prune in late winter or early spring before new growth begins, when the tree is still dormant but about to wake up.
This is when you can see the branch structure clearly and make precise cuts without stressing the tree.
What you'll achieve is a tree that grows upright and sturdy, with a strong central leader and well-spaced branches. The first year's pruning lays the foundation for years of easy harvesting, fewer broken limbs, and fruit that ripens evenly.
You'll also reduce the risk of pests and diseases hiding in dense foliage, making your tree healthier overall.
This method works for apple, peach, cherry, and plum trees, though citrus trees need slightly different timing. The key is patience—you won't see dramatic changes overnight, but your tree will thank you for years to come with stronger wood, better fruit quality, and less work as it matures.
📚 In This Guide
- What you need
- Instructions
- Tips and common mistakes
- Wrapping up and next steps
What you need
- ● Pruning shears: Bypass pruners (for cuts up to ½ inch thick) – 1 pair (look for ergonomic handles and sharp stainless steel blades).
- ● Loppers: Bypass or anvil type (for cuts up to 2 inches thick) – 1 pair (choose long-handled for reach).
- ● Pruning saw: Curved-tooth saw (for larger branches) – 1 (with a comfortable grip and sharp teeth).
- ● Gloves: Heavy-duty gardening gloves (cut-resistant, like those with Kevlar or leather) – 1 pair (to protect from thorns and sharp tools).
- ● Disinfectant: Rubbing alcohol (70%+), bleach solution (1 part bleach to 9 parts water), or commercial pruning sealant – small bottle or spray (to prevent disease spread).
- ○ Tree wound paint: Optional but recommended for cuts larger than ½ inch – small bottle (helps seal wounds and reduce infection risk).
- ● Ladder or step stool: Sturdy, non-slip – 1 (if your tree is taller than 6 feet).
- ● Tarp or drop cloth: – 1 (to collect debris and protect the ground).
- ● Pole pruner: For high branches (if your tree is very tall).
- ● Sharpener: A file or sharpening stone to keep blades in top condition.
- ● Notebook & pen: To sketch your tree’s structure or jot down pruning notes.
- ● Pruning rope or twine: For temporary support if you’re making large cuts.
Step-by-Step guide to pruning young fruit trees
Here's how I shape young trees for a lifetime of strong growth and abundant fruit.
🌱 Step 1: Identify the Leader and Main Branches
Start by locating the central leader—the strongest, straightest upward-growing branch. This becomes your tree's main trunk. Look for 3-4 well-spaced scaffold branches emerging from the trunk below the leader. These will form the tree's primary structure.
Use your hand to trace each branch's angle—ideal branches form a 45-60° angle with the trunk. If a branch grows straight up or down, it’ll compete with the leader and weaken the tree. Mark these branches with a small piece of twine or tape so you don’t accidentally prune them later.
✂️ Step 2: Remove Weak or Crossing Branches
Cut out any branches that are thinner than a pencil or growing inward toward the center of the tree. These "water sprouts" or weak limbs drain energy from stronger growth. Make your cuts just outside the branch collar—the swollen area where the branch meets the trunk—to prevent tearing.
For branches crossing over others, remove the weaker of the two. If they’re roughly equal in size, prune the one growing downward. Always cut back to a bud or side branch rather than leaving a stub—this encourages proper healing and future growth.
☀️ Step 3: Thin Out to Improve Airflow and Light
Step back and visualize sunlight filtering through the branches. Aim for a well-spaced framework where light can reach the inner canopy. Remove any branches that block light from penetrating more than 6-8 inches into the center of the tree.
Focus on the lower third of the tree first—these branches compete with the leader for energy. Prune them back to a strong outward-facing bud to encourage horizontal growth. Leave only the strongest, most evenly spaced branches to maintain balance.
⏰ Step 4: Shape for Future Harvests
Now’s the time to guide the tree’s natural shape. For apple or pear trees, aim for a rounded canopy with branches spaced 8-12 inches apart. For peach or plum trees, encourage an open vase shape with branches spreading outward.
Make final adjustments by pruning back any branches that grow too close together. Cut just above a bud facing the direction you want growth to continue. Avoid leaving stubs—this invites disease and weakens the tree. Step back often to check your progress.
Tips & tricks for pruning young fruit trees
Here's what nobody tells you about pruning—these tricks will help you avoid common mistakes and create a tree that thrives for years.
The Angle Test: When checking branch angles in Step 1, hold your hand at a 45° angle to visualize the ideal slope. Branches growing straight up or down will compete with your central leader, so mark these with twine immediately. I learned this the hard way after accidentally pruning a perfectly good scaffold branch that just needed a slight adjustment!
Branch Collar Protection: In Step 2, make your cuts just outside the branch collar—the swollen area where the branch meets the trunk. This prevents tearing and encourages proper healing. Use sharp, clean pruners and cut at a slight angle away from the trunk. If you accidentally cut into the collar, the wound won't heal properly and could invite disease.
Sunlight Visualization: For Step 3, step back 10 feet and squint to visualize sunlight filtering through the branches. Remove any branches that block light from reaching more than 6-8 inches into the center. Think of your tree like an open umbrella—you want sunlight to reach every part of the canopy. This simple trick ensures even fruit production all the way to the center of the tree.
Bud Direction Matters: When shaping branches in Step 4, always cut just above a bud facing the direction you want growth to continue. For example, if you want a branch to grow outward, look for a bud pointing outward and cut just above it. This small detail makes all the difference in creating a balanced, productive tree structure.
Pro Tips for Pruning Young Fruit Trees
- Here's what nobody tells you about pruning—these tricks will help you avoid common mistakes and create a tree that thrives for years.
- The Angle Test: When checking branch angles in Step 1, hold your hand at a 45° angle to visualize the ideal slope.
- Branch Collar Protection: In Step 2, make your cuts just outside the branch collar—the swollen area where the branch meets the trunk.
Frequently asked questions
about pruning young fruit trees—because even experts need a little clarity! Here are answers to the most common questions to help you prune like a pro.When is the best time to prune a young fruit tree?
The ideal time depends on your climate and tree type. For most deciduous fruit trees (like apples, peaches, or cherries), late winter or early spring (just before buds swell) is best. In warmer climates, prune in late winter to early spring to avoid disease. Evergreen fruit trees (e.g., citrus) can be pruned in late winter or early spring too, but avoid heavy pruning in extreme heat.
How much should I prune a young fruit tree in its first year?
Keep it light! Focus on removing dead, diseased, or crossing branches (about 10–20% of the tree’s total growth). Avoid over-pruning—you want to encourage a strong structure, not stress the tree. Think of it as shaping a scaffold for future growth, not a drastic haircut.
What if I prune at the wrong time and my tree looks sad?
Don’t panic! If you pruned too late (e.g., summer or fall), your tree may bleed sap or struggle to heal. However, most young trees are resilient. Water deeply and avoid fertilizing immediately. If branches look wilted, it’s likely just adjusting—new growth should sprout in spring. For severe cases, consult a local arborist.
Can I use hedge trimmers or shears instead of pruning saws?
Not ideal! Hedge trimmers can tear bark and create jagged cuts, inviting disease. For branches thicker than a pencil, use bypass pruners or a pruning saw. Thin branches? Hand pruners work great. Always make cuts at a 45-degree angle just above a bud or branch collar to promote healing.
What do I do if my tree starts bleeding sap after pruning?
Sap bleeding is normal for some trees (like maples or fruit trees) and usually harmless. To minimize it, prune in cooler weather (below 60°F) and avoid heavy cuts. If bleeding is excessive, apply pruning sealant (optional—many experts say it’s unnecessary for small cuts). Focus on keeping the tree well-watered and healthy to recover quickly.
Wrapping up and next steps
Pruning young fruit trees might seem intimidating at first, but with the right techniques and a little patience, you’re setting the stage for a lifelong bounty of delicious fruit! Remember, the key is to shape with purpose—removing deadwood, encouraging strong branches, and opening the canopy to sunlight.
Start small, stay consistent, and soon you’ll be rewarded with vibrant growth and abundant harvests.
Ready to take the next step? Grab your pruners, dust off those gloves, and schedule your first pruning session—your future orchard will thank you! 🌱✂️