Propagation
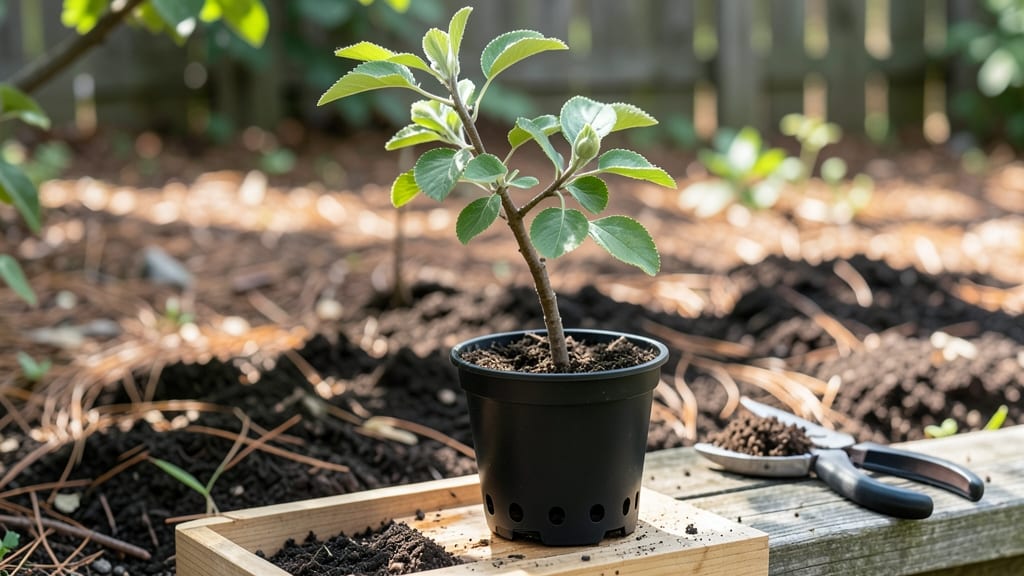
Growing a pear tree from seed lets you nurture a fruit-bearing giant from the ground up—though it takes patience and a few strategic tricks. 🌱 I learned the hard way that store-bought pears rarely produce fruit from seed, but with the right approach, you can grow a strong sapling with real potential.
The key is in the germination process, where most beginners stumble.
You’ll need fresh seeds from a ripe, organic pear (no grocery-store fruit), a container with damp paper towels, and a warm spot to encourage sprouting. Most seeds germinate within 4-6 weeks, but some take months—so don’t give up too soon.
Once sprouts appear, transplant them into pots with well-draining soil and keep them in bright, indirect light.
By the time your sapling hits 2-3 feet tall, it’ll be ready for the ground, though fruit production may take 5-10 years—or never, if it’s not grafted.
That’s why serious fruit growers often graft later, but the joy of watching a tree you grew from seed mature makes it worth the wait.
Whether you’re doing this for the adventure or to experiment with heirloom varieties, the real reward is seeing that first leaf unfurl. Here’s how to set it up right from the start.
📚 In This Guide
- What you need
- Instructions
- Tips and common mistakes
- Wrapping up and next steps
What you need
- ● Pear seeds: Fresh, high-quality seeds from a ripe, organic pear (1–2 seeds per attempt). Pro tip: 💡 Choose seeds from heirloom or disease-resistant varieties for better results!
- ● Small pots or seed trays: 2–4 biodegradable or plastic pots (3–4 inches in diameter) or a seed tray with drainage holes.
- ○ Well-draining potting mix: A lightweight, sterile blend (e.g., 50% peat moss, 30% perlite, 20% vermiculite). Optional: Add a handful of compost for extra nutrients.
- ● Plastic wrap or humidity dome: To create a mini greenhouse effect and retain moisture.
- ● Spray bottle: For gentle watering to avoid disturbing seeds.
- ● Label markers & tags: To track seed varieties and planting dates.
- ● Small hand trowel or spoon: For planting seeds without crushing them.
- ● Scissors or pruning shears: To trim plastic wrap or adjust pots as needed.
- ○ Thermometer (optional): To monitor soil temperature (ideal range: 60–70°F).
- ● Grow lights or sunny windowsill: A south-facing window or LED grow light (12+ hours/day) for seedlings.
- ○ Fertilizer (optional): A balanced, water-soluble fertilizer (e.g., 10-10-10) for later stages.
- ● Patience: Germination can take 4–8 weeks—pear trees are slow starters!
- ● Space: Seedlings will need room to grow (transplant to a larger pot or garden bed after 6–12 months).
- ● Climate awareness: Pears thrive in USDA Zones 5–8; plan for cold-hardy varieties if you’re in a colder zone.
Step-by-step instructions for growing pear trees from seed
Here's how I transform tiny pips into sturdy saplings—no nursery shortcuts needed.
🌱 Step 1: Harvest and Stratify the Seeds
Collect fresh, ripe pears from your tree or grocery store—organic is best, but any variety works. Cut the fruit open and scoop out the seeds, then wash them thoroughly to remove fruit residue. Here's the thing—pear seeds need a cold period to break dormancy, so I place them in a sealed container with slightly damp sand or peat moss. Store this mix in your refrigerator's crisper drawer for 8-12 weeks.
The sand should stay consistently moist but not soggy—think of a wrung-out sponge. Check weekly and mist lightly if dry. After 8 weeks, transfer the container to a warm spot (around 65-75°F) to begin germination. You'll see tiny roots emerge first, then the shoot will follow in 2-4 weeks.
💧 Step 2: Prepare Containers and Plant Germinated Seeds
Fill 4-inch diameter pots with a sterile seed-starting mix—never garden soil, as it's too dense. I use a blend of 50% peat moss and 50% perlite for perfect drainage. Moisten the mix until it's damp but not dripping. Make a small hole about ½ inch deep in the center of each pot with your finger.
Gently place one germinated seed (with its root facing downward) into each hole. Cover lightly with additional mix, pressing just enough to secure the seed. Water gently with a spray bottle until the soil surface looks evenly moist. Place the pots in a warm, bright location—a sunny windowsill works, but avoid direct midday sun, which can overheat the soil.
☀️ Step 3: Provide Ideal Growing Conditions
Pear seedlings need bright, indirect light for the first 4-6 weeks. If using a grow light, position it 4-6 inches above the seedlings and provide 14-16 hours of light daily. You'll notice strong seedlings developing two cotyledons (the first true leaves) within 2-3 weeks.
Water when the top inch of soil feels dry—stick your finger in to check. Overwatering is the biggest mistake here; it causes damping-off, a fungal disease that rots stems. If you see yellowing leaves or mushy stems, reduce watering immediately. Once seedlings reach 3-4 inches tall, transplant them into 6-inch pots with fresh potting mix to encourage deeper root growth.
🌿 Step 4: Harden Off and Prepare for Outdoors
When seedlings have 5-7 true leaves (not counting cotyledons), it's time to harden them off. Start by placing them outside in a shaded, sheltered spot for 1-2 hours the first day. Gradually increase their outdoor time over 10-14 days, moving them to sunnier locations each step. By the end, they should tolerate full sun for 6+ hours daily.
Choose a permanent outdoor location with full sun and well-draining soil. Dig a hole twice as wide as the root ball but no deeper. Gently remove the seedling from its pot, loosen the roots if they're circling, and place it in the hole. Backfill with soil, firm gently, and water deeply. Mulch with 2-3 inches of organic mulch to retain moisture and suppress weeds.
Tips & tricks for growing pear trees from seed
These germination secrets will help you avoid common pitfalls and grow strong, healthy saplings from those tiny pips.
Stratification Success: The 8-12 week cold stratification period is non-negotiable for pear seeds—this mimics winter conditions and breaks their natural dormancy. I've learned the hard way that skipping this step results in seeds that either won't sprout or produce weak, leggy seedlings. Place your sealed container in the refrigerator's crisper drawer where temperatures stay consistently cool (around 35-40°F), and resist the urge to peek inside weekly—just mist lightly if the sand feels dry to the touch.
Seedling Light Strategy: Those first 4-6 weeks with bright, indirect light are critical for developing sturdy seedlings. If using a sunny windowsill, rotate your pots daily so all sides get even exposure. For grow lights, maintain that 4-6 inch distance and 14-16 hour daily cycle—any closer and you'll scorch the delicate leaves. I've seen seedlings stretch toward light sources when positioned too far away, which weakens their stems.
Transplanting Technique: When moving your 3-4 inch seedlings to 6-inch pots, focus on the root system rather than the top growth. Gently loosen any circling roots with your fingers before placing them in the new container. This prevents girdling as the tree matures. I use a chopstick to make the planting hole—it creates a clean, straight channel for the seedling's roots to settle into.
Harden Off Gradually: The 10-14 day hardening process might seem tedious, but rushing it leads to shocked seedlings that wilt dramatically when transplanted outdoors. Start with just 1-2 hours of shade on day one, then increase exposure by 1-2 hours daily. Watch for signs of stress like curled leaves—this tells you to slow down the process. By day 10, your seedlings should handle 4-5 hours of morning sun before their final outdoor move.
Pro Tips for Grow A Pear Tree From Seed
- These germination secrets will help you avoid common pitfalls and grow strong, healthy saplings from those tiny pips.
- Stratification Success: The 8-12 week cold stratification period is non-negotiable for pear seeds—this mimics winter conditions and breaks their natural dormancy.
- Seedling Light Strategy: Those first 4-6 weeks with bright, indirect light are critical for developing sturdy seedlings.
Frequently asked questions
Got questions about growing a pear tree from seed? You’re not alone—this method takes patience and care! Below are answers to the most common queries to help you navigate the process with confidence.
How long does it take for a pear seed to germinate?
Germination can take anywhere from 4 to 12 weeks, depending on temperature, moisture, and seed viability. Cold stratification (chilling) is key—most seeds sprout best after 6–8 weeks in the fridge. Stay patient and keep the soil consistently moist but not soggy!
Will my pear tree from seed bear fruit?
Probably not the same variety as the parent tree! Pear seeds are unpredictable—the resulting tree may take 10–15 years to fruit (if at all) and could produce pears with different flavors, sizes, or even thorns. For reliable fruit, grafting is the better bet.
What’s the best temperature for germinating pear seeds?
Ideal germination temps range from 60–70°F (15–21°C). After cold stratification, move seeds to a warm, bright spot (like a sunny windowsill). Avoid direct heat sources—consistency is key! A seedling heat mat can help speed things up if your home runs cool.
Can I grow a pear tree indoors from seed?
Yes, but it’s tricky! Start seeds indoors in pots with drainage, then transplant outdoors after the last frost when the sapling is 12–18 inches tall. Pear trees need full sun (6+ hours/day) and outdoor space to thrive—indoor growth is possible only as a temporary step.
Why aren’t my pear seeds sprouting?
Common culprits include:
- Improper stratification: Skip the cold treatment, and seeds may stay dormant.
- Over/under-watering: Too much moisture = rot; too little = desiccation.
- Old or low-quality seeds: Freshness matters—use seeds from a ripe, healthy pear.
- Poor soil contact: Seeds need darkness to germinate; don’t bury them too deep.
Wrapping up and next steps
Growing a pear tree from seed is a rewarding journey that connects you to nature’s patience and beauty. 🌱 With the right care—from selecting fresh seeds to nurturing saplings—you’re not just cultivating a tree, but a legacy. Start small, stay consistent, and soon you’ll watch your seedling grow into a thriving fruit-bearing tree!
Ready to take the next step? Plant your seeds today and let the magic of growth unfold. 🌟 For extra guidance, explore local gardening forums or consult a horticulturist to tailor your approach. Happy planting!