
Pruning
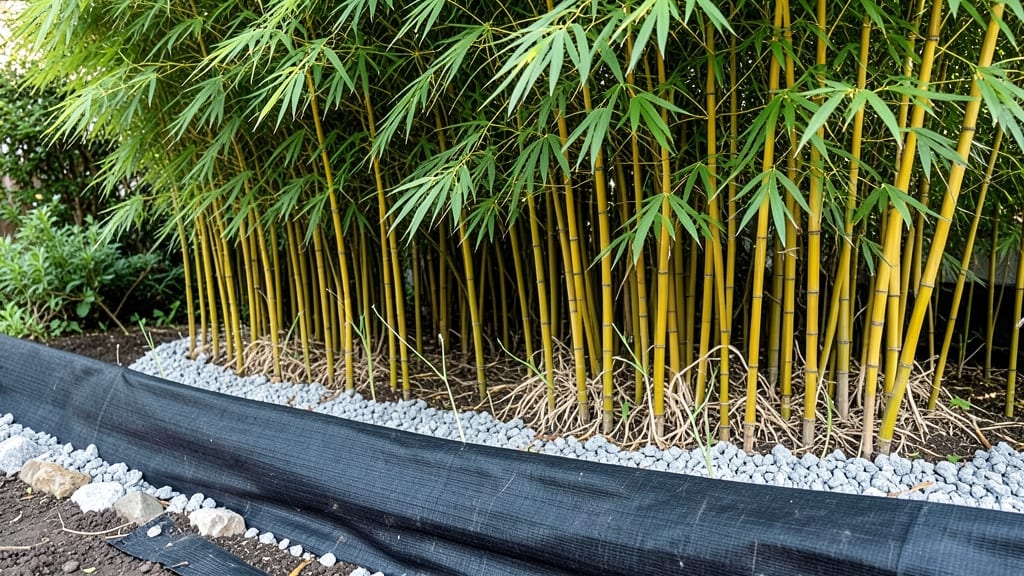
Creating a tree weed barrier that actually works means ditching plastic sheets and embracing living mulch—it’s the secret weapon for healthy trees and frustration-free yards. 🌱 I’ve tried every mulch type, from shredded bark to rocks, but nothing beats a dense layer of clover or creeping thyme that smothers weeds before they sprout.
The best part? It looks intentional, not like a construction zone.
Start with a 3-4 inch layer of organic mulch—wood chips, straw, or even pine needles—right up to the tree trunk (but not touching it). Then add your living mulch: creeping jenny for shade trees or clover for sunny spots.
This combo blocks light where weeds hate it while keeping soil moist and cool for your tree’s roots. Weeds stand no chance.
By summer’s end, you’ll have a lush, weed-free zone that doubles as a garden feature. The ground cover stays green all year, suppresses weeds naturally, and even improves soil as it breaks down. Plus, no more pulling weeds by hand—just enjoy the view while your tree thrives.
Works for any tree type, from young saplings to mature oaks. The key is consistency: refresh the mulch layer every year and watch your tree’s health—and your sanity—improve. Ready to try it?
📚 In This Guide
- What you need
- Instructions
- Tips and common mistakes
- Wrapping up and next steps
What you need
- ● Living mulch plants: Clover (white or red) – 10-20 lbs per 100 sq ft (fast-growing, nitrogen-fixing)
- ● Creeping thyme – 5-10 plants per 100 sq ft (drought-tolerant, fragrant)
- ● Ajuga (bugleweed) – 10-15 plants per 100 sq ft (shade-tolerant, spreads quickly)
- ● Liriope or Mondograss – 10-15 plants per 100 sq ft (grassy, weed-suppressing)
- ● Soil amendments: Compost – 2-3 inches spread evenly (improves soil health)
- ● Organic mulch (straw, wood chips, or pine needles) – 2-4 inches deep (retains moisture)
- ● Tools: Garden shovel or spade
- ● Rake (for leveling soil)
- ● Hoe or weeding tool (for prep work)
- ● Watering can or hose with spray nozzle
- ● Measuring tape (to mark barrier edges)
- ● Edging material (landscape fabric or metal edging) – to define the barrier neatly
- ● Slow-release fertilizer (balanced 10-10-10) – for faster establishment
- ● Drip irrigation kit – for consistent watering
- ● Gloves & knee pads – for comfort during installation
Step-by-Step guide to creating a natural tree weed barrier
Here's how to establish a living mulch that smothers weeds without chemicals.
🌱 Step 1: Clear Existing Weeds and Loosen Soil
Start by removing all existing weeds within a 3-foot radius around your tree. Pull them by the roots to prevent regrowth—just yanking leaves leaves roots behind that sprout new weeds. Use a garden fork to loosen the top 4-6 inches of soil without disturbing deeper roots. This creates space for your living mulch to establish.
I like to work in small sections, about 1 square foot at a time, so I don't compact the soil while prepping. If you see stubborn weeds with deep roots, like bindweed, use a hoe to cut them below the soil line. The goal is to create a clean slate where your chosen ground cover can take over without competition.
🌿 Step 2: Choose and Plant Your Living Mulch
Select fast-growing, shade-tolerant plants like creeping thyme, clover, or low-growing ferns that will outcompete weeds. Space them 6-12 inches apart depending on the variety—closer for aggressive spreaders like clover, wider for slower growers. Plant on a slightly cloudy day to reduce transplant shock.
Water deeply after planting to settle the soil around roots. Here's the thing—don't overwater now. You want the soil moist but not soggy, or you'll invite rot before your mulch establishes. Check moisture by pressing your finger 1 inch deep—it should feel damp but not wet. This first watering is critical for root establishment.
☀️ Step 3: Maintain Moisture and Monitor Growth
Keep the area consistently moist for the first 4-6 weeks until you see 3-4 inches of new growth. This is when your living mulch starts shading out weeds naturally. Water in the early morning so leaves dry quickly, reducing disease risk. I use a soaker hose to deliver water directly to the roots without disturbing the young plants.
Watch for gaps where weeds might sneak in. Fill these spots with additional mulch plants or a temporary layer of 2-3 inches of straw mulch until your living cover fills in completely. The moment you see your chosen plants spreading between each other, you'll know they're taking over and suppressing weeds.
✂️ Step 4: Prune and Encourage Spread
Once your living mulch reaches 6-8 inches tall, it's time to encourage lateral growth. Trim back any leggy stems to promote bushier, weed-blocking coverage. Use clean, sharp shears to avoid damaging the plants. This step prevents gaps where weeds could establish.
Real talk: You might see some weeds poking through at first—that's normal. Don't panic. Just pull those early invaders and give your living mulch a little more time. Within 3-4 months, a healthy cover will completely block sunlight from reaching weed seeds, making your tree area nearly weed-free.
Tips & tricks for perfect tree weed barrier
Common pitfalls—and how to sidestep every one—when creating your natural weed barrier.
Weed Prevention Strategy: In Step 1, when clearing weeds, don't just pull—the chop! Use a sharp hoe to sever roots below the soil line, especially for persistent weeds like bindweed. I learned this the hard way after seeing weeds bounce back within weeks. A clean cut below the surface prevents regrowth and gives your living mulch a fighting chance from day one.
Plant Selection: For Step 2, creeping thyme is my go-to because it thrives in shade and spreads aggressively—perfect for outcompeting weeds. If you choose clover, plant it closer (6 inches apart) since it spreads faster. For slower growers like ferns, give them more space (12 inches). The key is matching your plant's growth habit to your weed pressure.
Watering Wisdom: During the critical 4-6 week establishment period in Step 3, water deeply but infrequently. Think of it like giving your plants a long drink rather than a daily sip. Overwatering now creates soggy soil that invites rot before your mulch can take hold. I set a timer for every 3-4 days to check moisture—finger test at 1 inch deep should feel damp, not wet.
Gap Management: When you see weeds sneaking through in Step 3, don't panic—it's normal! Fill gaps with extra mulch plants or that temporary 2-3 inch straw layer. The straw acts as a bridge while your living mulch fills in. I keep a small bag of straw handy for quick repairs. Within 3-4 months, your living barrier will be so dense weeds won't even get sunlight to germinate.
Pro Tips for Tree Weed Barrier
- Common pitfalls—and how to sidestep every one—when creating your natural weed barrier.
- Weed Prevention Strategy: In Step 1, when clearing weeds, don't just pull—the chop!
- Plant Selection: For Step 2, creeping thyme is my go-to because it thrives in shade and spreads aggressively—perfect for outcompeting weeds.
Frequently asked questions
about tree weed barriers—especially living mulch solutions—can help you make the best choices for your garden. Here are some of the most common queries answered!What’s the best time of year to install a tree weed barrier?
Plant or install your tree weed barrier in early spring or fall when soil is moist but not frozen. This gives roots time to establish before extreme heat or cold. Avoid summer planting, as dry conditions can stress young plants or barriers.
How long does it take for a living mulch to fully suppress weeds?
Most living mulches (like clover or creeping thyme) take 1–2 growing seasons to fully outcompete weeds. Consistency is key—keep the area moist and monitor for gaps where weeds might sneak in. Patience pays off with long-term weed control!
Are there chemical-free alternatives if living mulch isn’t an option?
Yes! Try landscape fabric with organic mulch (like wood chips or straw) or cardboard barriers topped with mulch. For a natural approach, sheet mulching (lasagna gardening) layers cardboard, compost, and plant debris to smother weeds over time.
Why are weeds still growing through my tree weed barrier?
Weeds might appear if the barrier isn’t dense enough or if sunlight reaches the soil. Check for gaps, thin spots, or overgrown mulch. For living mulches, ensure they’re healthy and spreading—thin them out if needed. A 2–3 inch layer of mulch helps block light effectively.
Will a tree weed barrier harm my tree’s roots?
Not if installed correctly! Keep the barrier 3–6 inches away from the tree trunk to avoid girdling roots. Living mulches are safe as long as they’re not too aggressive (like bamboo). Always use organic, breathable materials to prevent moisture buildup.
Wrapping up and next steps
Creating a tree weed barrier with living mulch is a game-changer for low-maintenance, eco-friendly landscaping! 🌱 By outcompeting weeds naturally, you’ll save time, reduce herbicide use, and boost your garden’s health. Whether you’re a seasoned gardener or just starting out, this method is simple, sustainable, and rewarding.
Ready to take the next step? Start small—plant a test patch near one of your trees and observe how it thrives. Soon, you’ll be enjoying a lush, weed-free yard with minimal effort. Your future self (and your plants) will thank you!