
Pruning
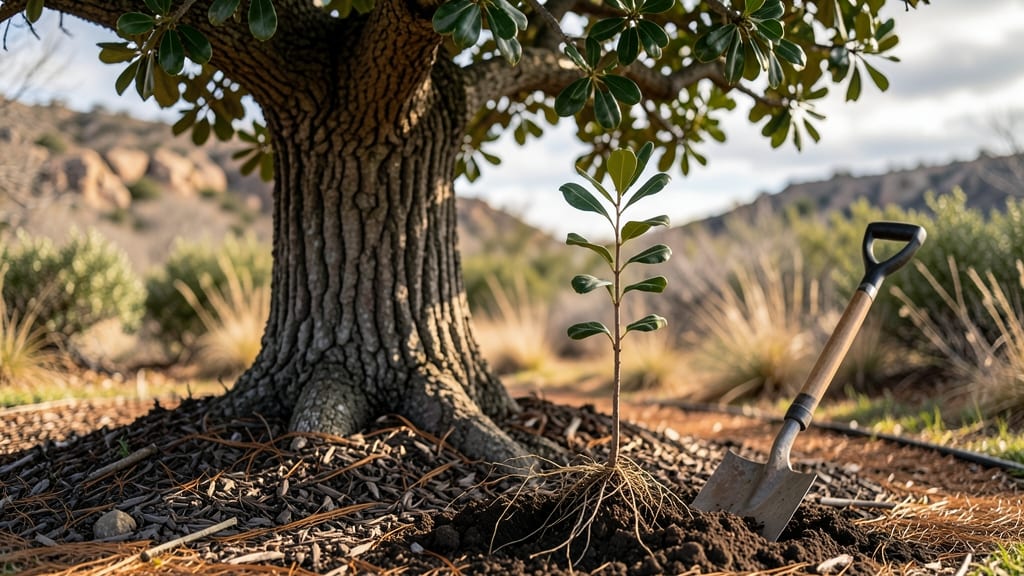
Planting trees in Sonoma County isn’t just about digging a hole—it’s about reading the land like a map. The right spot means the difference between a thriving oak and a struggling sapling fighting drought or fire risk from day one.
I’ve planted enough trees here to know that soil prep, species choice, and timing matter more than most guides admit.
Start with your microclimate: coastal fog belts favor redwoods, inland valleys thrive with fruit trees, and oak woodlands need well-drained slopes. Sonoma’s soil varies wildly—some spots are rocky, others hold water like a sponge.
Test your soil first, amend with compost, and choose native species like valley oak or California sycamore for built-in resilience. Spring through early fall is prime planting time, when roots can establish before winter rains or summer heat stress.
You’ll end up with a tree that grows strong, supports local wildlife, and even lowers your energy bills. Picture it: a mature oak providing shade in August, its roots holding soil during winter storms, and its acorns feeding squirrels year-round.
The key is patience—your first watering schedule should be precise, mulch should shield roots, and pruning must wait until the second year. Sonoma County’s best nurseries carry drought-tolerant varieties, so visit one before you buy.
Local programs like the Sonoma Land Trust offer workshops on fire-resistant planting—worth checking out if you’re in high-risk zones. Even small adjustments, like planting on the north side of a building to avoid afternoon sun, can make all the difference. Let’s get your tree in the ground the right way.
📚 In This Guide
- What you need
- Instructions
- Tips and common mistakes
- Wrapping up and next steps
What you need
- ● Tree sapling: Choose a native or drought-tolerant species (e.g., Quercus agrifolia or Arbutus menziesii). Size depends on age—1-3 gallons for young trees (1-3 ft tall) or 7-15 gallons for mature transplants (6+ ft).
- ● Shovel: Heavy-duty round-point or digging shovel (24-30" length) for breaking ground.
- ● Garden gloves: Durable, breathable (e.g., leather or nitrile-coated) to protect hands.
- ● Mulch: 3-4 inches of wood chips, straw, or compost (avoid plastic mulch—it traps heat!).
- ● Watering can or hose: Soaker hose (for deep watering) or a 5-gallon watering can for young trees.
- ○ Stakes & ties (optional but recommended): 2-3 stakes (6 ft long) and soft tree ties to secure the sapling until established.
- ○ Fertilizer (optional): Slow-release, organic fertilizer (e.g., compost or mycorrhizal fungi) for the planting hole.
- ● Pruning shears: Bypass pruners (for trimming dead branches post-planting).
- ● Wheelbarrow: For hauling soil, mulch, or tools.
- ○ Soil test kit (optional): Check pH and nutrient levels—Sonoma’s clay-heavy soils may need amendments like sand or compost.
- ● Drip irrigation kit (long-term): Automated system to ensure consistent watering (critical for first 2 years!).
- ● Check Sonoma County’s planting guidelines for local restrictions (e.g., fire-safe spacing).
- ● Call 811 (California’s DigAlert) to check for underground utilities before digging.
- ● Pick a microclimate-smart spot: Avoid low areas (frost pockets) and plant near structures to moderate temps.
Instructions: planting trees with Sonoma County's microclimates in mind
Here's how to site and establish trees for maximum success in our diverse coastal and inland zones.
Assess Your Site's Unique Microclimate
Sonoma County's microclimates vary dramatically—coastal areas stay cooler and foggier, while inland zones bake in summer sun. Observe your spot for at least a week: note morning fog patterns, afternoon sun angles, and evening wind direction. Coastal sites often need drought-tolerant species like California sycamore or coast live oak, while inland areas thrive with valley oak or black walnut.
Dig a hole twice as wide as the root ball but only as deep as the container's depth. Loosen the sides of the hole with a shovel to encourage root spread. The top of the root ball should sit 2-3 inches above grade—this prevents water pooling around the trunk. I always mark the original soil line with a paint stick so I know how deep to plant.
Prepare the Planting Hole and Amend Soil
Remove any rocks or debris from the hole and break up compacted soil with your hands. For clay-heavy inland soils, mix 1/3 native soil with 2/3 compost to improve drainage. Coastal sites with sandy soil benefit from adding 1 part peat moss to retain moisture. Don't use garden soil—it compacts and strangles roots.
Create a small mound in the center of the hole and spread the tree's roots gently over it. This prevents root circling, which stunts growth. For container-grown trees, score the root ball vertically with a knife to encourage outward root growth. The goal is a natural, spread-out root system—not a tight, coiled mess.
Position and Backfill with Care
Place the tree in the hole so the trunk faces the direction you prefer (often away from prevailing winds). Fill the hole with your amended soil mix, tamping down lightly as you go. Water thoroughly after each 6 inches of soil added to eliminate air pockets. The final watering should settle the soil to its natural level—no mounding around the trunk.
Create a 2-3 inch deep water basin around the outer edge of the hole. This directs water to the roots where it's needed most. Mulch with 3-4 inches of wood chips, keeping it 6 inches away from the trunk to prevent rot. I always use untreated wood mulch—dyed or chemically treated varieties can harm young trees.
Water and Protect for the First Critical Months
Water deeply every 5-7 days for the first month, then taper to every 10-14 days once established. Coastal fog often provides natural moisture, while inland areas may need supplemental watering during summer dry spells. Check soil moisture by pushing a finger 2 inches deep—if it's dry, water again.
Install a tree guard to protect young trunks from deer browsing and lawnmower damage. In coastal areas, consider windbreaks for newly planted trees until their root systems stabilize. I've seen too many beautiful specimens lost to winter winds—don't skip this step, especially for species like redwoods or bay laurels.
Tips & tricks for tree planting in Sonoma County’s unique microclimates
Sonoma County’s diverse landscapes demand thoughtful adjustments—here’s how to give your trees the best possible start.
Microclimate-Specific Soil Prep: In coastal areas, where sandy soils drain too quickly, the 1-part peat moss addition in Step 2 is your moisture anchor. For inland clay soils, that 2/3 compost mix isn’t just about drainage—it’s about creating tiny air pockets roots need to breathe. I’ve seen trees in Petaluma thrive with this ratio, while inland sites in Healdsburg often need an extra handful of perlite mixed in for clay-heavy soils.
Root Ball Handling: The scoring technique for container-grown trees in Step 2 can’t be overstated—it’s what prevents those frustrating root circles that strangle growth. Use a utility knife to make 4-6 vertical cuts around the root ball, about 1/2 inch deep. This mimics natural root spread and lets roots explore the amended soil you’ve worked so hard to prepare.
Watering Precision: That 2-3 inch deep water basin in Step 3 isn’t just decoration—it’s your tree’s lifeline. After planting, give it a thorough soak to settle the soil, then let it dry slightly before the next watering. Coastal fog may reduce your 5-7 day schedule to every 7-10 days, but inland areas during summer often need supplemental watering every 4-5 days. Always check that 2-inch deep moisture test before watering again.
Wind Protection: For coastal sites, don’t skip the windbreak recommendation in Step 4—even mature redwoods can suffer from winter winds. I’ve used temporary burlap screens or even large cardboard boxes wrapped in burlap for young trees. Position them on the windward side and remove after 1-2 years once roots establish. This simple step can mean the difference between a thriving tree and one struggling to recover.
Pro Tips for Tree Planting Sonoma County Ca
- Sonoma County’s diverse landscapes demand thoughtful adjustments—here’s how to give your trees the best possible start.
- Microclimate-Specific Soil Prep: In coastal areas, where sandy soils drain too quickly, the 1-part peat moss addition in Step 2 is your moisture anchor.
- Root Ball Handling: The scoring technique for container-grown trees in Step 2 can’t be overstated—it’s what prevents those frustrating root circles that strangle growth.
Frequently asked questions
Got questions about planting trees in Sonoma County’s unique microclimates? You’re in the right place! Here are answers to the most common concerns to help you get started with confidence.
What’s the best time of year to plant a tree in Sonoma County?
For optimal success, plant deciduous trees in late fall or early winter (November–February) when the ground is cool, and evergreens in early spring or fall (March–April or October–November). Sonoma’s mild winters and foggy summers mean avoiding summer heat stress—root systems establish best when temperatures are moderate.
How close can I plant a tree to my house or driveway?
Sonoma’s diverse microclimates (coastal, valley, or inland) influence spacing needs. Keep trees at least 15–20 feet from structures to avoid root damage or foundation issues. For large species (like oaks or redwoods), aim for 30+ feet. Check local Sonoma County ordinances—some areas require permits for mature trees.
How often should I water a newly planted tree in Sonoma’s climate?
Water deeply 2–3 times per week for the first year, then taper to once a week (or during dry spells). Sonoma’s coastal fog helps, but inland areas (like the Alexander Valley) may need more frequent watering. Pro tip: Use drip irrigation to target roots directly—avoid overhead watering to prevent fungal diseases.
What are the best native trees for Sonoma County’s microclimates?
Match your zone! Coastal areas thrive with coast live oak, tan oak, or California bay. Inland valleys (like Dry Creek) love valley oak, California sycamore, or manzanita. For foggy spots, redwoods or bigleaf maples excel. Native species need less water and support local ecosystems—win-win!
My tree’s leaves are yellowing—what’s wrong?
Yellow leaves often signal overwatering, nutrient deficiency, or fungal issues. In Sonoma, root rot (from poor drainage) or aphids (common in mild climates) are frequent culprits. Check soil moisture—let it dry slightly between waterings. If pests are present, use neem oil or contact a local arborist.
Wrapping up and next steps
Planting trees in Sonoma County isn’t just about greening your space—it’s about creating a thriving microclimate that boosts your garden’s resilience and beauty. 🌱 By choosing the right species and strategic placement, you’ll enjoy cooler summers, richer soil, and a habitat for local wildlife.
Ready to take action? Start small: research native trees, mark your ideal spots, and plant with confidence—your future garden will thank you!
🌿 Next Steps:
- Pick a tree: Visit a local nursery (like Sonoma Ecology Center) for microclimate-friendly options.
- Plan your spot: Use the sun/shade map you’ve sketched to place your tree.
- Plant & celebrate: Invite neighbors to join—community tree days make it even sweeter!