Pruning
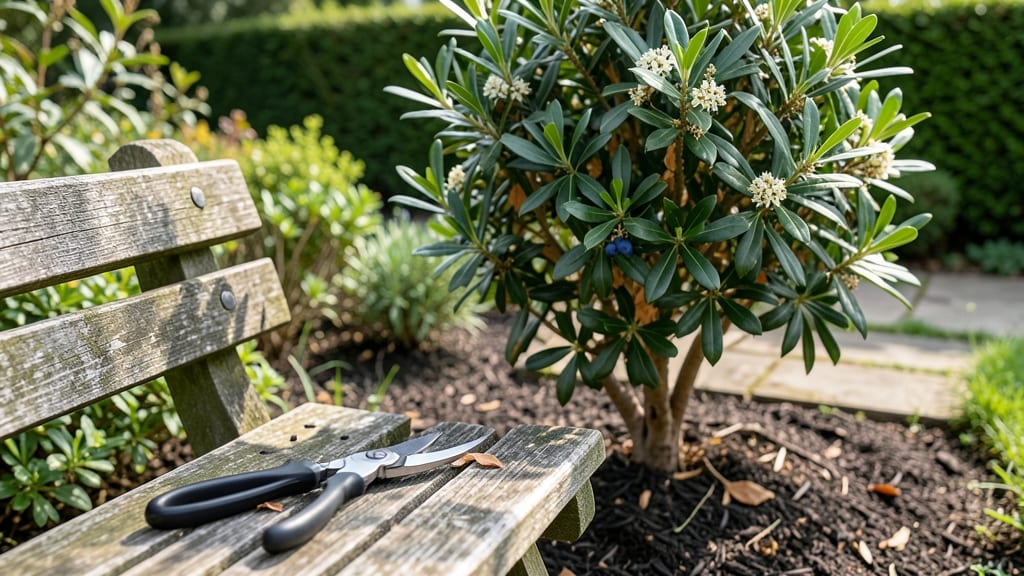
Pruning myrtle trees transforms them from scraggly shrubs into neighborhood showstoppers with dense foliage and year-round interest. 🌿 I’ve pruned my own myrtles for over a decade, and the difference between a neglected bush and one that looks like it belongs in a botanical garden comes down to timing, technique, and a few key tools.
The best part? You don’t need a green thumb—just a sharp eye and a willingness to get your hands dirty.
Most gardeners make one big mistake: waiting until spring to prune. But myrtles respond best to light, regular trims throughout the year—especially after flowering, when new growth is most vigorous.
You’ll need bypass pruners for small branches, loppers for thicker stems, and a clean, sharp saw for anything over an inch in diameter. And here’s the secret: always disinfect your tools with rubbing alcohol to prevent spreading disease between cuts.
After a proper pruning session, your myrtle will burst with fresh, glossy leaves and fill out more densely than ever. The key is to cut just above a leaf node or bud, never leaving stubs, and to shape gradually rather than hacking back too much at once.
Within weeks, you’ll notice new shoots emerging from the base, and the overall structure will look balanced and full—like it was designed by a pro.
This method works for both dwarf myrtles in containers and tall standards in the landscape. Whether you’re shaping a hedge or just tidying up a mature tree, the principles stay the same. Ready to give your myrtles the care they deserve?
📚 In This Guide
- What you need
- Instructions
- Tips and common mistakes
- Wrapping up and next steps
What you need
- ● Pruning shears: Bypass pruners (5-8 inch blades) for clean cuts on small branches (1/4" to 3/4" diameter). Quantity: 1 pair.
- ● Loppers: Bypass or anvil type (18-24 inch handles) for medium branches (3/4" to 2" diameter). Quantity: 1 pair.
- ● Pruning saw: Curved or bow saw for thick branches (2"+ diameter). Quantity: 1.
- ○ Extension pole: Adjustable or telescoping (8-12 ft) with a pruning saw attachment for high branches. Quantity: 1 (optional but helpful).
- ● Gloves: Heavy-duty, cut-resistant (e.g., leather or Kevlar). Quantity: 1 pair.
- ● Safety glasses: ANSI-rated to protect against debris. Quantity: 1 pair.
- ● Ladder: Sturdy, extendable (16-20 ft) with non-slip feet. Quantity: 1 (if needed for height).
- ● Disinfectant: 70% isopropyl alcohol or pruning sealant to sterilize tools between cuts (prevents disease spread).
- ● Marking twine: For tagging branches to remove later (e.g., dead or crossing branches).
- ● Work bag: To organize tools and debris.
- ● First-aid kit: For minor cuts or scrapes.
- ● Water spray bottle: To mist tools and branches during hot days (reduces stress on the tree).
- ● Weather check: Prune on a dry, overcast day or early morning to avoid stressing the tree.
- ● Tree health assessment: Inspect the tree for diseases, pests, or dead branches before pruning.
- ● Safety briefing: Clear a 10-foot radius around the tree to avoid tripping hazards.
Step-by-Step trimming guide for myrtle trees
Here's how to maintain your myrtle's shape and health year-round without stressing the plant.
✂️ Step 1: Time Your Cuts for Optimal Growth
Prune your myrtle trees in early spring before new growth begins—that's when they're most resilient. Late winter to early spring cuts encourage vigorous new shoots for the season. Avoid heavy pruning in fall, as it exposes tender new growth to winter damage. I always check my calendar for the last frost date—pruning too early can leave branches vulnerable to cold snaps.
For minor shaping or deadwood removal, you can trim anytime except during extreme heat or dormancy. Just be gentle—myrtles respond best to gradual adjustments. If you notice leggy growth or sparse foliage, that's your cue to prune lightly in late spring instead of waiting for fall.
✂️ Step 2: Remove Dead and Damaged Branches First
Start by eliminating any dead, diseased, or crossing branches—these are the first priority. Dead branches snap easily when bent; diseased ones may have discolored bark or oozing sap. I use sharp bypass pruners to make clean cuts just outside the branch collar (that swollen area where the branch meets the trunk). Never leave stubs—this invites rot and weakens the tree.
Next, look for branches rubbing against each other. These create wounds that invite pests and disease. Remove the smaller of the two branches at its point of origin. If you're unsure which to cut, imagine the tree's natural shape—keep the branch that contributes most to the overall form. Myrtles are forgiving, but precision here prevents future problems.
✂️ Step 3: Shape the Tree Gradually for Natural Form
Step back and assess the tree's natural shape before making any aesthetic cuts. Myrtles grow in a rounded, bushy form, so I aim to enhance that silhouette. Start by thinning out the interior branches to improve airflow—this reduces fungal risks. Cut back to a healthy bud or lateral branch, never leaving a stub. I like to work from the bottom up, removing lower branches to open up the canopy and let light reach the center.
For height control, never remove more than one-third of the tree's height in a single season. If your myrtle has grown too tall, spread the cuts over two or three years to avoid shock. Always cut just above a leaf node or outward-facing bud—this encourages growth in the direction you want. Watch for new growth patterns after pruning; if branches sprout in odd directions, you've cut too aggressively.
✂️ Step 4: Maintain Year-Round with Light Trims
After the main spring pruning, keep your myrtle tidy with light maintenance trims throughout the year. Remove any suckers (shoots growing from the base or trunk) immediately—they divert energy from the main structure. I also snip off any flower clusters after they fade to redirect the tree's energy into foliage growth rather than seed production.
In late summer, give your myrtle a final check for any wild, straggly branches that detract from its shape. Trim these back to a bud or side branch, but avoid heavy cuts this close to winter. If you notice new growth slowing down, that's a sign to hold off until spring. Myrtles reward patience—consistent, gentle pruning keeps them lush and healthy for decades.
Tips & tricks for perfect myrtle tree pruning
Mastering myrtle pruning transforms a routine chore into a gardening art—here's how to avoid common pitfalls and achieve that lush, natural look every time.
Seasonal Timing Precision: The early spring timing in Step 1 is non-negotiable for vigorous growth, but here's the secret: Check your local weather patterns. If you're in a region with unpredictable frost dates, err on the side of caution and wait until after the last confirmed frost. I've seen myrtles stressed by early spring pruning when a late frost hit—always consult your local cooperative extension service for precise dates. For minor maintenance trims mentioned in Step 4, I schedule mine on calm, overcast days to reduce stress on the plant from sun exposure.
Tool Selection Matters: While the instructions mention bypass pruners, I can't emphasize enough how critical sharp tools are. Dull blades crush stems instead of making clean cuts, which invites disease. Invest in a pair of high-quality bypass pruners and keep them honed—file them after every 10 uses or when you notice the blades dragging. For larger branches, a pruning saw with a fine-toothed blade prevents tearing. Always clean your tools with rubbing alcohol between cuts to prevent spreading any potential pathogens from diseased branches.
Visual Growth Assessment: When shaping in Step 3, here's what I look for: Imagine the tree's natural growth pattern as a series of inverted cones. Each cut should maintain this shape. If you're unsure about a branch's contribution, use the "thirds rule"—if a branch is in the outer third of the tree's canopy, it's likely contributing to the overall form. For height control, I mark the one-third height point with a piece of twine before making cuts—this visual guide prevents over-pruning. Remember, myrtles grow slowly, so gradual shaping over years yields the best results.
Post-Pruning Care: After finishing your cuts, here's a step often overlooked: Apply a thin layer of arborist's wound dressing to any larger cuts (over 1/2 inch in diameter) to protect the exposed wood. Water the base thoroughly but avoid overwatering—myrtles prefer slightly dry conditions. I also recommend a light application of balanced fertilizer (10-10-10) in early spring to support new growth, but only if your soil test indicates a deficiency. The key is to mimic nature's gradual renewal process rather than shocking the tree with sudden changes.
Pro Tips for Pruning Myrtle Trees
- Mastering myrtle pruning transforms a routine chore into a gardening art—here's how to avoid common pitfalls and achi...
- Seasonal Timing Precision: The early spring timing in Step 1 is non-negotiable for vigorous growth, but here's the se...
- Tool Selection Matters: While the instructions mention bypass pruners, I can't emphasize enough how critical sharp to...
Frequently asked questions
Got questions about pruning your myrtle trees? You’re not alone! Here are answers to the most common concerns—so you can trim with confidence and keep your myrtles thriving.
When is the best time to prune myrtle trees?
The ideal time is late winter or early spring (just before new growth starts). This helps avoid stressing the tree during dormancy. Light trimming can happen year-round, but avoid heavy cuts in summer or fall, as it may stunt growth or invite pests.
How much can I trim my myrtle tree without harming it?
Never remove more than 25-30% of the foliage in a single session. Over-pruning weakens the tree and can lead to dieback. Focus on shaping, removing dead branches, and thinning out crowded areas for airflow. Patience is key!
What should I do if my myrtle tree looks sick after pruning?
If you notice yellowing leaves, wilting, or oozing sap, you may have cut too aggressively or exposed the tree to stress. Act fast: water deeply, avoid fertilizing for a few weeks, and monitor for pests. If symptoms persist, consult a local arborist.
Can I prune myrtle trees in pots or small spaces?
Yes! Container-grown myrtles need regular pruning to control size and shape. Use sterilized shears and trim back by 1/3 of the plant’s height annually. Ensure the pot has drainage holes, and repot every 2-3 years if roots are crowded.
Are there alternatives to traditional pruning for myrtle trees?
If you prefer minimal intervention, try selective thinning to improve light penetration or topiary shaping for a formal look. For overgrown myrtles, gradual pruning over 2-3 years reduces shock. Avoid harsh cuts—focus on natural form for long-term health.
Wrapping up and next steps
Pruning your myrtle trees doesn’t have to be intimidating—it’s all about timing, technique, and a little patience! 🌿 Whether you’re shaping for aesthetics, boosting health, or encouraging vibrant blooms, the key takeaway is consistency.
Start with the right tools, follow seasonal cues, and always prioritize safety and plant well-being. With each trim, you’re not just maintaining a tree—you’re nurturing a thriving part of your landscape.
Ready to take the next step? Grab your shears, put on your gardening gloves, and schedule that first pruning session—your myrtles will thank you! 🌟 For extra confidence, revisit our FAQs or mark your calendar for the ideal seasons to prune. Happy trimming!