Pruning
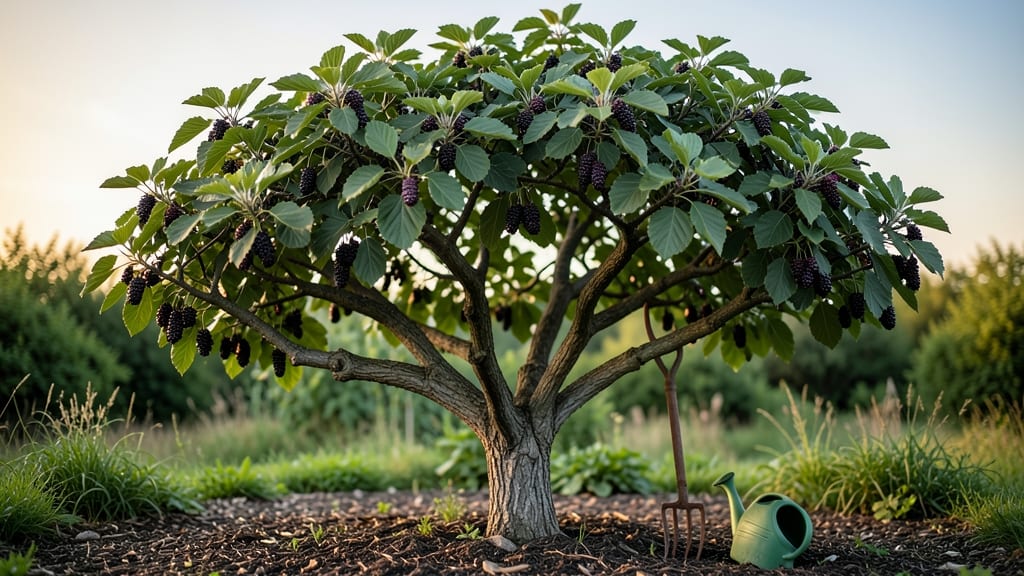
When you prune a Morus nigra tree, you’re not just shaping branches—you’re unlocking its potential for rich, velvety black fruit that tastes like chocolate and sunshine. 🌿 I’ve pruned mine every winter for five years, and the difference in harvest size is night-and-day.
The key isn’t just cutting back; it’s understanding which branches to encourage and which to remove for airflow and sunlight.
You’ll need sharp pruning shears, a ladder (for taller trees), and a clear day to assess the tree’s structure. Focus on removing dead, crossing, or weak branches first, then thin out crowded areas to let light reach the center.
Mulberries respond well to pruning, so don’t be shy—aggressive cuts in early spring stimulate new growth, which means more fruit later. Just avoid heavy pruning after summer, or you’ll risk stunting next year’s harvest.
What you’ll end up with is a tree that produces pounds of fruit instead of just a handful, with branches heavy enough to bend but not break.
The fruit ripens in late summer, turning from green to deep purple-black, and the flavor is so intense it’ll make you want to plant three trees instead of one. Plus, the tree’s glossy leaves add year-round interest to your landscape.
This method works for both young trees and established ones, though younger trees need lighter pruning to establish their structure. If you’re in a warm climate, you can prune in late winter before buds swell—just time it so you’re not pruning when pests are active.
Ready to transform that wild-looking mulberry into a fruit-bearing powerhouse?
📚 In This Guide
- What you need
- Instructions
- Tips and common mistakes
- Wrapping up and next steps
What you need
- ● Pruning shears: Bypass shears (for small branches, 4–6 inches) – 1 pair (sterilized with rubbing alcohol).
- ● Loppers: For branches ½–2 inches thick – 1 pair (with bypass blades for clean cuts).
- ● Pruning saw: For thick branches (2+ inches) – 1 saw (bow or folding saw with fine teeth).
- ● Gloves: Heavy-duty, cut-resistant (e.g., leather or synthetic) – 1 pair (thorns are no joke!).
- ● Disinfectant: 70% isopropyl alcohol or 10% bleach solution – small bottle (to sterilize tools between cuts).
- ○ Pruning sealant: (Optional) Tree wound paint – small tube (for cuts > ½ inch).
- ● Ladder: Extendable or step ladder – 1 (if tree exceeds 8 feet).
- ● Safety gear: Safety glasses – 1 pair (to protect from debris).
- ● Weather: Prune on a dry, cloudy day (avoid frost or extreme heat).
- ○ Map of the tree: Sketch or note key branches to remove (optional but helpful!).
- ● Rake or tarp: To clean up debris – 1 rake or tarp (for easy cleanup).
- ● Water: Small spray bottle – 1 (to mist cuts if needed).
How to prune a Morus nigra tree for maximum fruit production
Here’s my go-to method for keeping your black mulberry tree healthy and loaded with sweet fruit.
🌿 Step 1: Time Your Pruning for Peak Growth
Prune your Morus nigra tree in late winter or early spring, just as buds begin to swell but before new growth starts. This timing ensures you remove dead wood while leaving enough energy for fruit production. Avoid pruning in fall—it can stimulate late-season growth that won’t harden off before winter.
If you missed the winter window, prune in early summer after harvest—but avoid heavy cuts then, as it stresses the tree. I always check the buds first: if they’re still tight and dormant, it’s safe to prune. If they’ve already burst open, wait until next season.
✂️ Step 2: Remove Dead, Diseased, or Weak Branches First
Start by cutting out any dead, diseased, or crossing branches—these compete with healthy growth and reduce fruit yield. Use clean, sharp pruners to make cuts at a 45-degree angle, about ¼ inch above a outward-facing bud. This encourages new growth to sprout in the right direction.
Look for branches that rub against each other or grow inward—they’ll eventually choke the tree. Thin these out first, even if they’re small. A good rule: if a branch is thinner than your thumb, it’s likely weak and should be removed. Mulberries are forgiving, but neglecting this step leads to crowded canopies and fewer fruit clusters.
☀️ Step 3: Open the Canopy for Sunlight and Airflow
Next, focus on thinning the canopy to let sunlight reach the center of the tree. Mulberries fruit best on young, sun-exposed branches, so aim to keep the inner branches well-lit. Remove up to 20% of the tree’s foliage in one session—this prevents shock while still improving fruit production.
Prioritize branches that grow straight up or block light from the center. Cut just above a healthy bud that faces outward. Avoid "heading back" (cutting back to a bud mid-branch)—this encourages bushy growth but reduces fruit quality. Instead, remove entire branches at their base if they’re too crowded.
🌱 Step 4: Shape for Balance and Future Growth
Step back and assess the tree’s shape. Mulberries naturally grow into round, vase-like forms, so prune to maintain that balance. Remove suckers (shoots growing from the base) and water sprouts (fast-growing vertical shoots) immediately—they drain energy from fruit production.
If your tree has low-hanging branches, consider lifting them slightly by cutting their base at a 45-degree angle and tying them to a stake. This raises fruit clusters for easier harvesting and improves airflow. Never remove more than one-third of the canopy in a single year—mulberries are tough but not invincible.
⏰ Step 5: Clean Up and Monitor for Recovery
After pruning, sterilize your tools with rubbing alcohol to prevent spreading disease. Collect and dispose of all cuttings—don’t leave them on the ground, as they can harbor pests. Water the tree deeply to help it recover, especially if you made heavy cuts.
Watch for new growth within 4-6 weeks. Healthy mulberries sprout fresh leaves quickly after pruning. If you see yellowing leaves or wilting, you may have over-pruned—scale back next time. A well-pruned Morus nigra should reward you with larger, sweeter fruit by next season.
Tips & tricks for perfect mulberry tree pruning
These simple strategies will help you prune your Morus nigra tree like a pro—without stressing the plant or sacrificing next year's harvest.
Timing is Everything: The late winter to early spring window is critical because that's when your tree is still dormant but about to burst into growth. If you prune too early, you risk exposing fresh cuts to harsh winter winds. If you wait too long, you'll remove buds that could have produced fruit. I always check for swollen buds—if they're still tight, it's safe to prune. If they've already burst open, you've missed the boat for that season.
Tool Prep Matters More Than You Think: Sterilizing your pruners with rubbing alcohol between cuts prevents spreading disease from one branch to another. I keep a small bottle of 70% isopropyl alcohol in my tool bag and wipe down blades after every 3-4 cuts, especially when dealing with diseased wood. Sharp tools also make cleaner cuts that heal faster—dull blades crush tissue, creating larger wounds that invite pests and disease.
Visual Cues for Better Cuts: When making your 45-degree cuts about ¼ inch above an outward-facing bud, imagine you're creating a tiny roof over the bud. This protects it from rain while allowing new growth to emerge in the right direction. For branches thicker than your thumb, make the cut just outside the branch collar—the swollen area where the branch meets the trunk. This ensures the tree can seal the wound properly and prevents decay.
Recovery Checklist: After pruning, monitor your tree's response by looking for new growth within 4-6 weeks. Healthy mulberries should sprout fresh leaves quickly, especially on branches that received plenty of sunlight after thinning. If you notice yellowing leaves or wilting within a few days, you may have removed too much canopy—scale back next year. A deep watering after pruning helps the tree recover, especially if you made heavy cuts during the late winter/early spring session.
Pro Tips for Morus Nigra Tree
- These simple strategies will help you prune your Morus nigra tree like a pro—without stressing the plant or sacrificing next year's harvest.
- Timing is Everything: The late winter to early spring window is critical because that's when your tree is still dormant but about to burst into growth.
- Tool Prep Matters More Than You Think: Sterilizing your pruners with rubbing alcohol between cuts prevents spreading disease from one branch to another.
Frequently asked questions
When is the best time to prune a black mulberry tree?
The ideal time is late winter or early spring, just before new growth begins. This helps avoid stressing the tree during active fruit production. Avoid pruning in fall, as it can stimulate late-season growth vulnerable to frost damage.
How much can I trim back a mature Morus nigra tree?
For mature trees, never remove more than 25% of the canopy in one year. Focus on thinning out crowded branches (especially those rubbing together) and shaping for airflow. Over-pruning can reduce fruit yield and weaken the tree’s structure.
Will pruning affect next year’s mulberry harvest?
Pruning can boost fruit quality and quantity if done correctly! Removing dead or diseased wood and opening the canopy to sunlight improves air circulation, reducing pests and diseases. Just avoid heavy cuts during fruiting season—save aggressive pruning for dormant periods.
Can I prune a black mulberry tree in summer?
Summer pruning is possible, but it’s best for minor adjustments like removing water sprouts or diseased branches. Heavy pruning in summer can stress the tree and stunt fruit development. If you must prune, do it early morning or late evening to minimize heat shock.
What if my tree isn’t producing many berries after pruning?
Check these common issues:
- Insufficient sunlight: Mulberries thrive in full sun—ensure no overhanging branches are blocking light.
- Over-fertilization: Too much nitrogen promotes leafy growth at the expense of fruit. Use a balanced fertilizer (10-10-10) instead.
- Pest/disease damage: Yellowing leaves or holes? Treat with neem oil or consult a local arborist.
Pro Tip:
Label your cuts! Use colored tape or paint to mark branches you’re unsure about—this helps track their growth over time and ensures you don’t accidentally remove the wrong limbs.
Wrapping up and next steps
The Morus nigra tree rewards patience and care with its luscious black mulberries—so don’t hesitate to roll up your sleeves and prune with confidence! 🌿 By mastering strategic cuts, you’ll boost fruit production, improve air circulation, and keep your tree thriving for years.
Now that you’re armed with the know-how, pick a sunny day, grab your tools, and give your mulberry tree the attention it deserves—your future harvest will thank you!
Next step: Mark your calendar for late winter or early spring—when your tree is still dormant—and start pruning to kick off the growing season right!