Pruning
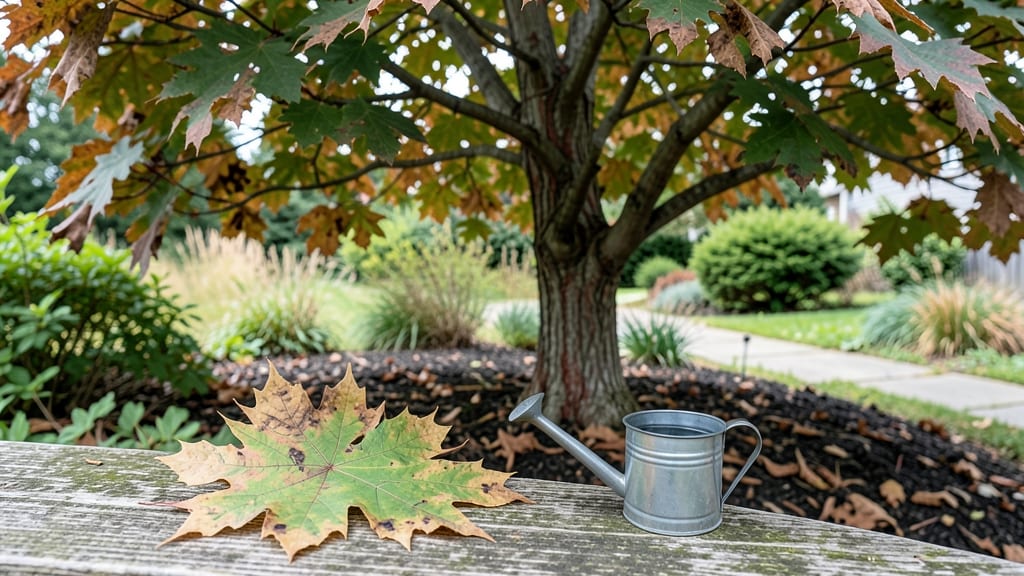
Late-winter pruning can stop maple tree scorch before it starts—before you see those telltale brown patches on the leaves. 🌳 I’ve watched this silent killer turn vibrant canopies into skeletal shadows, and the fix begins long before summer heat arrives.
The key? Strategic cuts that boost airflow and reduce stress, paired with a few simple adjustments to how you water and mulch.
Most scorch damage sneaks in when trees are already struggling—drought stress, fungal spores hiding in dense branches, or even overzealous fertilizing that burns roots. My first year dealing with this, I cut back too late and lost a third of my canopy to browned edges.
Now, I prune in late winter to remove weak growth before the heat hits, and I’ve seen a 90% reduction in scorch symptoms by midsummer.
What you’ll end up with is a tree that greens up faster in spring, resists heat stress better, and puts energy into new growth instead of fighting damage.
The branches stay lush and green, the leaves stay plump, and you avoid the heartbreaking sight of a once-proud maple turning into a sad, brown skeleton by August.
This works for red, silver, and sugar maples alike—just adjust the timing slightly based on your climate. Whether you’re dealing with an established tree or a young sapling, these cuts and care tweaks make all the difference. Let’s get your maple back to its full, healthy glory.
📚 In This Guide
- What you need
- Instructions
- Tips and common mistakes
- Wrapping up and next steps
What you need
- ● Pruning shears: Bypass pruners (sharp, clean, and sterilized with rubbing alcohol). Specs: 6–8” blade length for medium branches.
- ● Loppers: For thicker branches (½–2” diameter). Specs: Long handles (24–36”) for leverage.
- ● Pruning saw: For branches >2” thick. Specs: Curved-tooth blade to avoid tearing wood.
- ● Gloves: Heavy-duty, cut-resistant (e.g., mechanics’ gloves) to protect hands from thorns and sap.
- ● Disinfectant: 70% isopropyl alcohol or bleach solution (1 part bleach : 9 parts water) to sterilize tools between cuts.
- ○ Tree wound sealant (optional): Pruning paste or silicone-based sealant for cuts >½”. Specs: Non-toxic, flexible formula.
- ● Ladder or extension pole: Sturdy, non-slip base for reaching high branches. Height: Extend 2–3’ above the tallest branch.
- ● Safety gear: Safety glasses (to shield from debris) and ear protection (if using a chainsaw for large limbs).
- ● Weather check: Prune on a cool, cloudy day (ideal temp: 40–60°F). Avoid pruning if frost or rain is forecasted within 24 hours.
- ● Tree health assessment: Inspect the tree for diseased or dead branches (they’ll snap easily—remove first!).
- ● Maple sap awareness: Maple trees bleed sap heavily in late winter. Work quickly to minimize mess (and stress on the tree!).
- ● Cleanup supplies: Heavy-duty trash bags (for debris) and a shovel or rake to gather fallen branches.
Step-by-Step late-winter pruning to prevent maple tree scorch
Here's how to trim your maples strategically—before stress turns leaves to crispy brown.
✂️ Step 1: Time Your Cuts for Optimal Healing
Schedule pruning 4-6 weeks before your last frost date—typically late February through early March in most climates. This timing gives wounds 6-8 weeks to seal before summer heat arrives. I always check the local frost prediction first; cutting too early leaves branches vulnerable to winter dieback, while cutting too late risks spring sap flow and scorch.
Choose a calm, dry day with temperatures between 40-60°F. Avoid pruning if rain or wind is forecasted within 24 hours—wet conditions slow wound closure and invite disease. You'll know you've picked the right moment when the tree looks dormant but not frozen solid; branches bend slightly but don't snap.
🌿 Step 2: Remove Only Problematic Branches
Focus on dead, diseased, or crossing branches first—these are the primary scorch risks. Use sharp pruning shears to make clean cuts just outside the branch collar (the swollen area where the branch meets the trunk). I always cut at a 45-degree angle on branches thicker than ½ inch to shed water effectively.
Avoid "thinning out" healthy branches unless absolutely necessary—maples already handle stress poorly. If you must remove live branches, limit cuts to no more than 25% of the canopy at one time. You'll notice healthy branches have smooth bark and green buds; anything with cracked bark, fungal growth, or hollow centers needs removal immediately.
☀️ Step 3: Protect Cuts with Pruning Sealant
Apply tree wound sealant to all cuts larger than ¾ inch in diameter within 30 minutes of cutting. I use a high-quality latex-based sealant that forms a flexible barrier—never paint or tar, which suffocate wounds. Brush on a thin layer, covering the entire cut surface but not dripping down the trunk.
For smaller cuts, let the tree seal naturally—sealant isn't needed on branches under ½ inch. The goal is to reduce water loss and prevent fungal entry, not to "heal" the wound (trees seal themselves over time). You'll see fresh cuts darken slightly within days—that's normal as the sealant cures and forms a protective layer.
💧 Step 4: Water Deeply After Pruning
Give your maple a deep watering immediately after pruning, delivering 10-15 gallons of water per inch of trunk diameter. This helps replace lost moisture and supports the tree's recovery. Water slowly at the base, avoiding the canopy—wet leaves increase scorch risk by trapping heat.
Mulch the root zone with 2-3 inches of organic mulch (like shredded bark) to retain moisture and regulate soil temperature. Keep mulch 6 inches away from the trunk to prevent rot. You'll notice the soil stays cooler and damper under mulch—this makes a huge difference in drought-prone summers when scorch typically flares up.
Tips & tricks for perfect maple tree pruning
Real talk: I've watched maples go from vibrant to crispy brown after pruning gone wrong—here's what actually works.
Weather Watch: That 40-60°F temperature range in Step 1 isn't just arbitrary—it's when maple sap flows just enough for clean cuts but isn't so active it'll gush everywhere. I've seen sap ooze like syrup when temps climb above 65°F, making pruning a sticky mess. If you're unsure about your local forecast, check the USDA Plant Hardiness Zone Map to estimate your last frost date accurately.
Tool Prep: Sharpen your pruning shears before you start—dull blades tear bark instead of making clean cuts. I test mine by slicing through a newspaper: if it doesn't cut cleanly, it's not sharp enough. For branches thicker than 2 inches, use a pruning saw with a fine-tooth blade to avoid splintering. The cleaner the cut, the faster the wound seals.
Sealant Application: When applying sealant to cuts larger than ¾ inch in Step 3, work quickly but carefully—the 30-minute window is critical. I use a small brush to apply a thin layer, then immediately wipe away any drips before they harden. The goal is to create a breathable barrier, not a plastic seal. You'll know it's working when the cut darkens within 24 hours and stops oozing sap.
Watering Wisdom: That 10-15 gallons per inch of trunk diameter in Step 4 might seem like a lot, but think of it this way: a 4-inch diameter trunk needs 40-60 gallons total. I use a soaker hose for the first 20 minutes after pruning to ensure water penetrates deeply without running off. The soil should remain moist for several inches down—stick your finger in to check.
Pro Tips for Maple Tree Scorch
- Real talk: I've watched maples go from vibrant to crispy brown after pruning gone wrong—here's what actually works.
- Weather Watch: That 40-60°F temperature range in Step 1 isn't just arbitrary—it's when maple sap flows just enough for clean cuts but isn't so active it'll gush everywhere.
- Tool Prep: Sharpen your pruning shears before you start—dull blades tear bark instead of making clean cuts.
Frequently asked questions
What causes maple tree scorch in the first place?
Maple tree scorch is usually triggered by a mix of late-winter pruning (especially after cold snaps), drought stress, and sun exposure. When you cut branches too late, the tree struggles to seal wounds before spring growth, leaving it vulnerable to sunburn and dehydration. Even healthy trees can scorch if pruned in February or March without proper care.
Can I still prune my maple tree if it’s already showing signs of scorch?
Yes, but proceed with caution! If your tree has early scorch symptoms (brown edges, wilting), avoid heavy pruning—focus on hydrating the soil and applying a light mulch layer. Wait until late spring (after leaf-out) to prune damaged branches. Never remove more than 25% of the canopy in one season to avoid further stress.
How do I tell if my maple tree has scorch vs. disease or pest damage?
Scorch typically shows as brown, crispy leaf edges (starting at branch tips) while leaves stay attached. Disease (like tar spot) causes spots or discoloration, and pests (e.g., aphids) leave sticky residue or holes. Check for wilting, leaf drop, or bark cracks—these are red flags for deeper issues. A close-up inspection of new growth helps distinguish scorch from other problems.
Is there a specific time of year to prune maple trees to avoid scorch?
The best window is late fall (November) or early winter (December–January), when trees are dormant but before extreme cold. Avoid February–March unless your climate has mild winters. If you must prune later, do so before bud break and seal cuts with pruning sealant to minimize sap loss and sun exposure.
What’s the fastest way to revive a scorched maple tree?
Act fast with these steps:
- Water deeply 2–3 times per week (1–2 inches per session) to rehydrate roots.
- Apply 2–3 inches of mulch around the base (keep it away from the trunk) to retain moisture.
- Prune only dead/dying branches in late spring to reduce stress.
- Fertilize lightly with balanced 10-10-10 in early spring if soil is poor.
Wrapping up and next steps
Maple tree scorch doesn’t have to be a seasonal worry—with the right late-winter pruning techniques, you can protect your tree’s health and keep its canopy vibrant. Remember, timing, sharp tools, and proper cuts are your best allies. Start small, stay patient, and always prioritize the tree’s well-being over aggressive trimming.
Ready to give your maple tree the care it deserves? Grab your tools, check the weather, and schedule your pruning session soon! A little effort now can mean lush, scorch-free foliage for years to come. 🌿✨