Pruning
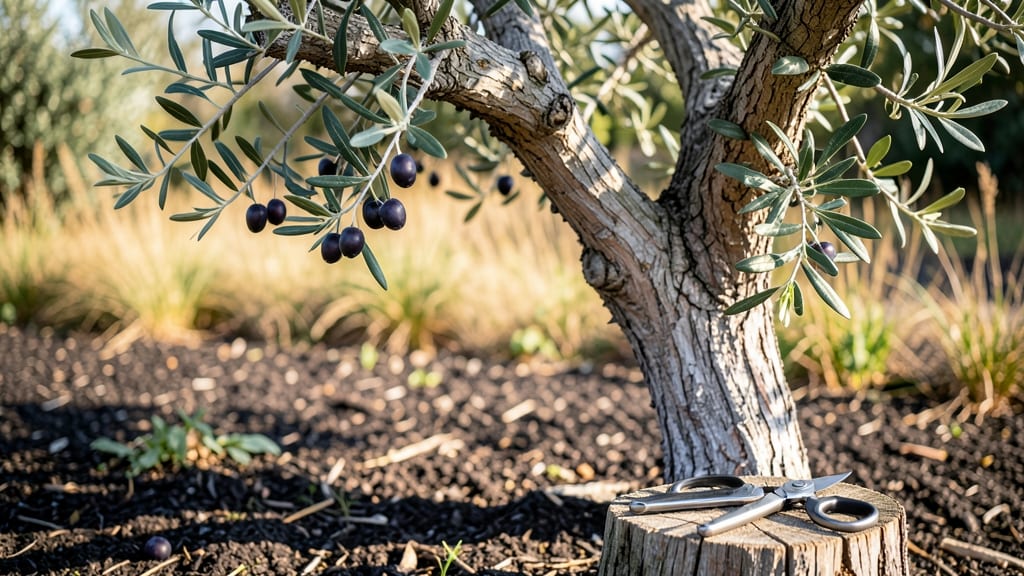
Trimming an olive tree isn’t just about shaping—it’s about unlocking bigger harvests and stronger branches for years to come. I’ve pruned mine every winter for five seasons, and the difference in fruit production is shocking. The key is timing, technique, and knowing which branches to keep (and which to cut).
Start with the right tools: sharp bypass pruners for small branches, a saw for thicker ones, and rubbing alcohol to sterilize cuts. You’ll work during dormant season (late winter to early spring) when the tree isn’t actively growing.
This prevents stress and disease. My first mistake? Pruning in summer—now I wait until the chill sets in.
You’ll end up with a tree that produces 20-30% more olives while staying structurally sound. The branches will be open enough for sunlight to reach all fruit, and you’ll avoid the tangled mess that makes harvesting a nightmare. Plus, the wood takes on a cleaner look—no more gnarled, overgrown limbs.
This method works for both young trees (to establish shape) and mature ones (to maintain health). Whether you’ve got a backyard tree or a container-grown dwarf, the principles stay the same. Let’s get those branches looking sharp—and productive.
📚 In This Guide
- What you need
- Instructions
- Tips and common mistakes
- Wrapping up and next steps
What you need
- ● Pruning shears (bypass or anvil type) – Choose bypass for clean cuts (ideal for olive trees) or anvil for thicker branches (4–6" blades recommended). Quantity: 1 pair.
- ● Loppers – For branches ½" to 2" in diameter. Quantity: 1 pair (long-handled for reach).
- ● Pruning saw – For branches thicker than 2". Opt for a curved blade for precision. Quantity: 1.
- ● Gloves – Heavy-duty, cut-resistant gloves (olive branches can be sharp!). Quantity: 1 pair.
- ● Safety glasses – Protects eyes from debris. Quantity: 1 pair.
- ● Ladder or step stool – If your tree is taller than 6 feet. Ensure it’s stable and rated for your weight.
- ● Disinfectant (70% isopropyl alcohol or bleach solution) – Clean tools between cuts to prevent disease. Quantity: Small bottle or spray.
- ○ Pruning sealant (optional) – Helps larger wounds heal faster (e.g., Tanglefoot Tree Wound Pruning Sealer). Quantity: Small tube.
- ● Trash bags or bucket – For collecting pruned branches. Quantity: 1–2.
- ○ Marking twine or flags (optional) – To tag branches for future reference.
- ● Water and rags – For cleaning tools post-pruning.
- ● Best time to prune: Late winter or early spring (before new growth). Avoid pruning during fruit-bearing season (October–January).
- ● Weather check: Choose a dry, cloudy day to minimize stress on the tree.
- ● Tree health: Inspect for pests/diseases (e.g., peacock spot) before pruning. Treat issues first if found.
- ● Safety first: Wear closed-toe shoes and avoid pruning near power lines.
Step-by-Step guide to pruning your olive tree
Pruning transforms your olive tree from a wild, tangled mess into a productive, sunlit powerhouse. Here's how I do it—season by season.
Choose the Right Time for Pruning
Olive trees thrive when pruned in late winter or early spring, just as new growth begins. This timing prevents winter dieback and gives fresh shoots time to harden before summer heat. Avoid pruning in fall—it stresses the tree and invites disease before dormancy sets in.
Look for swollen buds along branches as your signal. These indicate the tree is waking up from dormancy and ready to support new growth. If you must prune in summer, do it only to remove diseased wood—never more than 10% of the canopy at once.
Gather Tools and Prepare the Workspace
Use sharp, clean pruning shears for cuts under ½ inch and loppers for branches up to 1½ inches thick. For anything larger, a pruning saw is essential. Sterilize tools with rubbing alcohol to prevent spreading bacterial canker, a common olive tree disease.
Lay down a tarp or old sheet to catch debris—olive leaves and small branches create a slip hazard. Wear gloves to protect against thorns and sap irritation. I always prune on a dry day; wet branches are harder to handle and increase disease risk.
Remove Dead, Diseased, or Crossing Branches First
Start by eliminating dead wood—branches that snap easily or have no bark. Next, cut out any diseased branches (look for blackened spots, oozing sap, or fungal growth). Remove crossing branches that rub against each other, creating wounds where pests can enter.
Make cuts just outside the branch collar—the swollen area where the branch meets the trunk. Cutting too close can damage the tree’s healing tissue. If a branch is too large to cut cleanly, make a three-cut method to avoid tearing the bark.
Thin the Canopy for Better Airflow and Light
Olive trees need sunlight to reach the inner branches, so aim to open the canopy by removing up to 20% of the foliage. Focus on branches growing inward or downward—they compete with stronger, outward-growing limbs for sunlight and nutrients.
Look for suckers (fast-growing, weak shoots) at the base of the tree. These drain energy from fruit production. Cut them back to a strong lateral branch or the main trunk. You’ll see the tree’s structure become clearer as you go.
Shape the Tree and Encourage Fruit Production
Olive trees respond well to an open-center shape, where the center remains slightly hollow to allow light penetration. Avoid heavy topping—cutting the main branches back drastically stresses the tree and reduces harvests.
Prune to encourage fruiting spurs, the small, stubby branches where olives form. These spurs develop on 2- to 4-year-old wood, so avoid cutting back old wood entirely. If your tree isn’t producing well, focus on preserving these spurs while thinning excess growth.
Tips & tricks for perfect olive tree pruning
Took me years to learn these pruning secrets—your olive tree will thank you for every detail you nail. Here’s how to avoid common mistakes and get the most out of your pruning effort.
Timing is Everything: The late winter or early spring window is non-negotiable for most olive trees. I’ve seen trees stressed by fall pruning develop fungal issues because the cuts don’t have time to heal before winter rains. If you’re in a Mediterranean climate with mild winters, wait until you see those swollen buds—your tree’s way of saying “I’m ready!”
Tool Sharpness Matters: Dull pruning shears tear bark instead of making clean cuts. I test mine by cutting through a piece of newspaper—if it shreds, my shears need sharpening. Clean tools prevent bacterial canker, which can turn your pruning session into a disease disaster. Sterilize between cuts if you’re working with diseased branches.
Canopy Thinning Strategy: That 20% foliage reduction target in Step 4 isn’t arbitrary—it’s about balance. I focus on removing branches that grow inward or downward first, creating a natural funnel for sunlight. Think of it like opening a window blind: you want light to reach every part of the room (or tree canopy). Leave the outward-growing branches—they’re your tree’s natural light collectors.
Fruiting Spur Preservation: Those 2- to 4-year-old wood sections with tiny buds are your olive production goldmine. When shaping in Step 5, I scan each branch for these spurs before making cuts. If you accidentally remove too many, your harvest will suffer next season. A good rule: never cut back more than ⅓ of a branch’s length in one session.
Pro Tips for Trim An Olive Tree
- Took me years to learn these pruning secrets—your olive tree will thank you for every detail you nail. Here’s how to ...
- Timing is Everything: The late winter or early spring window is non-negotiable for most olive trees. I’ve seen trees ...
- Tool Sharpness Matters: Dull pruning shears tear bark instead of making clean cuts. I test mine by cutting through a ...
Frequently asked questions
Got questions about trimming your olive tree? You’re not alone! Whether you're a first-time pruner or a seasoned gardener, these FAQs will help you navigate the process with confidence. Let’s dive in:
When is the best time to trim an olive tree?
The ideal time to prune is late winter or early spring (before new growth starts). Avoid heavy pruning in fall, as it can stimulate tender growth vulnerable to frost. For Mediterranean climates, February or March is perfect—just before buds swell. Light maintenance trimming can happen year-round, but avoid pruning during fruit production.
Do I need special tools to trim an olive tree?
While olive trees don’t require exotic tools, the right ones make the job easier. A sharp bypass pruner (for small branches), loppers (for thicker limbs), and a pruning saw (for large branches) are essential. Sterilize tools with rubbing alcohol between cuts to prevent disease. A pruning rope or ladder can also save your back!
How much should I trim off an olive tree?
Olive trees are hardy but don’t overdo it! For young trees, remove 10-20% of the canopy to encourage shape and airflow. Mature trees can handle 20-30% of selective pruning—focus on dead, crossing, or overcrowded branches. Never trim more than 30% in one session, or you risk stressing the tree. Thin out rather than shear!
What should I do if my olive tree starts dying after pruning?
If your tree looks unhappy (wilting, yellow leaves, or no new growth), it might be over-pruned or stressed. Water deeply and apply a balanced fertilizer (like 10-10-10) to help recovery. Avoid pruning again for 6-12 months. If branches bleed sap heavily, it’s normal—olive trees ooze a bit post-prune. Monitor for pests (like scale) and treat if needed.
Can I shape an olive tree into a topiary or hedge?
Olive trees respond well to shaping, especially if pruned gradually. For topiary, use hand pruners to trim new growth regularly (every 4-6 weeks). For hedges, shear lightly in spring and summer, but avoid heavy cuts that remove too much foliage. Dwarf varieties (like ‘Arbequina’) are perfect for containers or formal shapes!
Pro Tip:
Always prune just outside the branch collar (the swollen area where the branch meets the trunk) to promote faster healing. And remember: Patience is key! Olive trees grow slowly, so dramatic changes take time. Happy trimming!
Wrapping up and next steps
Trimming your olive tree is a rewarding way to boost its health, productivity, and longevity—and you’ve got all the tools to succeed! 🌿 By following the right techniques, timing, and safety tips, you’ll encourage stronger branches, better fruit yields, and a stunning shape.
Now that you’re equipped with knowledge, grab those pruners and get pruning with confidence!
Ready to take it further? Monitor your tree’s growth after pruning, adjust future cuts as needed, and soon, you’ll be a pro at nurturing a thriving olive tree. Happy trimming! 🌱