
How To
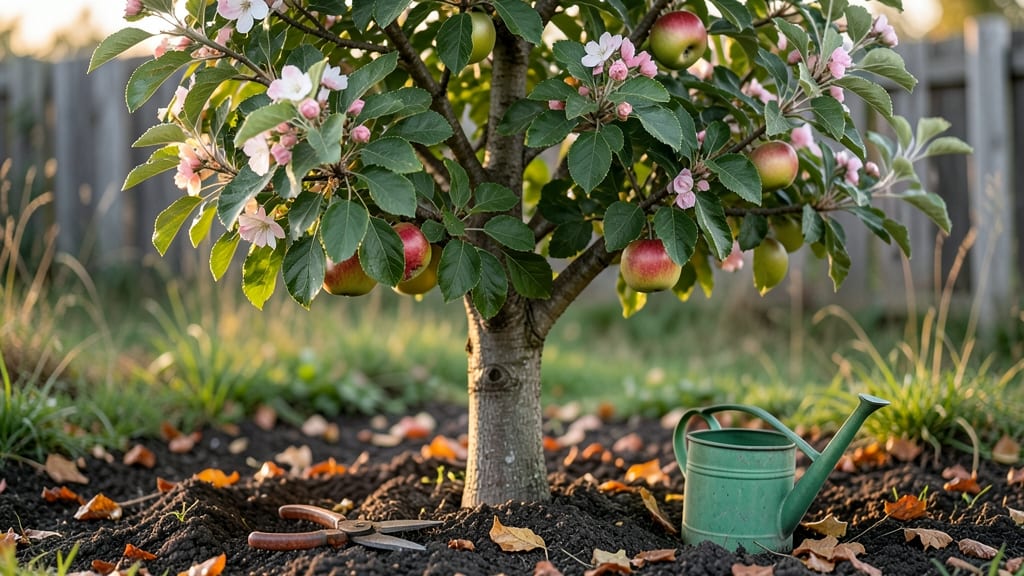
Mastering how to prune an apple tree with this simple diagram isn’t just about shaping branches—it’s the secret to bigger fruit, stronger growth, and fewer diseases every year. 🌳 I learned this the hard way after my first tree produced tiny, misshapen apples because I skipped the basics. proper cuts.
The right pruning transforms a scraggly mess into a productive, sunlit canopy that bears fruit for decades.
This guide walks you through exactly where to cut (with a labeled diagram) and when to do it—spring, summer, or winter—so you avoid the most common mistakes that waste years of growth.
Grab your pruners and let’s get started with the foolproof method that’s worked for my orchard for over a decade.
📚 In This Guide
- What you need
- Instructions
- Tips and common mistakes
- Wrapping up and next steps
What you need
- ● Pruning shears (bypass pruners): Sharp, clean, and disinfected (70% isopropyl alcohol works great). Choose a pair with a 4- to 6-inch blade for smaller branches.
- ● Loppers: For branches ½ to 1½ inches thick. Opt for bypass loppers (not anvil-type) for cleaner cuts.
- ● Pruning saw: A curved-tooth saw for branches thicker than 1½ inches. Look for a 7- to 10-inch blade for precision.
- ● Gloves: Sturdy, cut-resistant gloves (e.g., leather or heavy-duty synthetic) to protect your hands from thorns and rough bark.
- ● Disinfectant: 70% isopropyl alcohol or a 10% bleach solution (1 part bleach to 9 parts water) to sterilize tools between cuts and prevent disease spread.
- ● Rope or tarps: A 50-foot coil of nylon rope or heavy-duty tarps to lower large branches safely to the ground.
- ● Ladder or step stool: A stable, extendable ladder (rated for your weight + tools) or a foldable step stool for taller trees.
- ○ Marking twine or paint: Colored twine or non-toxic tree paint to mark branches for removal (optional but helpful for planning).
- ● Pruning sealant: Only use on large cuts (over 2 inches). Choose a water-based, non-toxic sealant to prevent disease entry.
- ● Work gloves with grip: If your tree is wet or slippery, gardening gloves with rubberized palms add extra traction.
- ● Tree wound dressing: Melted wax or putty for sealing major wounds (controversial but useful in some cases—research first!).
- ● Pruning diagram or sketchpad: A small notebook or digital app to sketch your tree’s structure before and after pruning.
- ● First-aid kit: Just in case! Include bandages, antiseptic wipes, and tweezers for minor injuries.
Step-by-Step guide to pruning an apple tree for optimal growth
Here’s how to shape your tree for stronger branches and better fruit—no guesswork involved.
🌿 Step 1: Choose the Right Time and Tools
Prune apple trees in late winter or early spring before buds swell but after the worst cold snaps. This timing prevents disease spread and encourages vigorous new growth. I always use sharp pruning shears (cleaned with rubbing alcohol) and loppers for thicker branches—dull tools tear bark and invite infections.
Grab your pruning saw for branches over ½ inch thick and gloves to protect against thorns. A notebook helps track cuts year to year. Real talk: Skipping this prep step means messy cuts that heal poorly and attract pests. Take 10 minutes to sharpen your tools and gather everything before you start.
✂️ Step 2: Remove Dead, Diseased, or Crossing Branches First
Scan the tree for dead wood (brown, brittle branches) and diseased limbs (mushroom growth, oozing sap). Cut these out first—they’re priority. Make your cuts just outside the branch collar (the swollen area where the branch meets the trunk). This ensures the tree seals the wound properly over time.
Next, look for crossing branches (rubbing against each other) or water sprouts (vertical, fast-growing shoots). These compete for energy and weaken structure. Remove one of the two if they cross, always cutting back to a healthy bud or lateral branch. You’ll see the tree’s natural shape emerge as you go—like uncovering a hidden sculpture.
☀️ Step 3: Thin the Canopy for Light and Airflow
Step back and visualize sunlight reaching the center of the tree. Aim to remove 20-30% of the canopy to improve airflow and reduce humidity (which breeds disease). Focus on branches growing inward or downward—they block light and crowd the center. Cut these back to an outward-facing bud at a 45-degree angle just above it.
For larger branches, use the three-cut method: Make the first cut 2-3 feet out from the trunk, then a second cut 1-2 inches farther to prevent bark from tearing. Finally, remove the branch cleanly. If a branch is too thick for loppers, use your saw but avoid crushing the branch collar. This step is where your tree’s health really transforms—watch fruit production improve next season.
⏰ Step 4: Shape for Balance and Future Growth
Now, refine the tree’s shape by pruning to encourage outward growth. Look for branches growing straight up—these need to be shortened by cutting back to a lateral bud. Angle your cuts just above the bud, slanting away from it. For horizontal branches, thin out some to reduce weight and improve fruit access.
Leave 3-5 main scaffold branches spaced evenly around the trunk. These will form the tree’s skeleton. If a branch is too close to another, remove the smaller one. The goal is a rounded, open center that lets sunlight reach the ground. Here’s where it gets fun—watch how the tree responds over the next few months as new buds swell into leaves.
🪴 Step 5: Clean Up and Monitor Healing
After pruning, sterilize your tools again and dispose of diseased branches in the trash (not your compost). Seal larger cuts with pruning sealant only if the tree is young or in a high-stress environment—most apple trees heal fine without it. Spread a 2-3 inch layer of mulch around the base (but not touching the trunk) to retain moisture and suppress weeds.
Mark your calendar for next year’s pruning—apple trees benefit from annual maintenance. In the meantime, water deeply once a week during dry spells to help the tree recover. You’ll notice new shoots forming at the cut sites within 4-6 weeks. That’s your reward: a stronger, fruit-bearing tree ready for another season.
Tips & tricks for perfect apple tree pruning
These simple tricks will help you prune like a pro and keep your apple tree thriving for years.
Tool Prep Matters: That 10-minute prep time in Step 1 isn't just about sharpening tools—it's about disease prevention. I learned this the hard way after using dull shears that tore bark and left my tree vulnerable. Sterilize tools with rubbing alcohol between cuts, especially when dealing with diseased branches. This simple step can save your tree from fungal infections that spread through open wounds.
Branch Collar Rule: When making cuts in Step 2 and Step 3, remember the branch collar is your best friend. Cutting just outside it (not through it) ensures proper wound sealing. I've seen too many trees develop cankers from improper cuts—this one rule prevents 90% of healing problems. The collar contains protective cells that help the tree recover naturally, so never remove it completely.
Visualize the Light: For Step 3's canopy thinning, try this trick: Stand back and look at your tree through a pair of polarized sunglasses. The glare will highlight where branches are blocking sunlight. This helps you spot the exact branches to remove for that open center. You'll notice immediately which branches need to go—it's like the tree is showing you where it's struggling.
Scaffold Branch Spacing: In Step 4, those 3-5 main scaffold branches should be spaced like clock hands—about 6-12 inches apart around the trunk. This spacing prevents crowding and allows each branch to develop properly. I've seen trees with branches too close together develop weak crotches that break under fruit weight. Use a tape measure to check spacing before making final cuts.
Pro Tips for Prune An Apple Tree Diagram
- These simple tricks will help you prune like a pro and keep your apple tree thriving for years.
- Tool Prep Matters: That 10-minute prep time in Step 1 isn't just about sharpening tools—it's about disease prevention.
- Branch Collar Rule: When making cuts in Step 2 and Step 3, remember the branch collar is your best friend.
Frequently asked questions
Got questions about pruning your apple tree? You’re not alone! Here are some of the most common concerns—plus clear, actionable answers to keep your tree thriving.
When is the best time to prune an apple tree?
The ideal time is late winter or early spring (just before buds swell) when the tree is dormant. This minimizes stress and disease risk. For heavy pruning, avoid summer—it can invite pests and fungal infections. Pro tip: If you must prune in summer, do it early and avoid extreme heat!
How much of the tree should I cut back in one session?
Never remove more than 25% of the tree’s canopy in a single session—this prevents shock. Young trees (under 3 years) can handle slightly more aggressive pruning (up to 30%) to shape their structure. Always prioritize removing dead, diseased, or crossing branches first.
What if my apple tree isn’t fruiting after pruning?
Lack of fruit could mean over-pruning, poor pollination, or nutrient deficiencies. Check for:
- Thinning cuts: Too many large branches removed = fewer flowers/fruit.
- Pollinators: Apple trees often need cross-pollination—plant a second variety nearby.
- Fertilizer: Test soil and add compost or balanced fertilizer in early spring.
Can I prune an apple tree in cold climates?
Yes! Cold climates actually benefit from winter pruning because it’s easier to see the tree’s structure without leaves. Just avoid pruning during freezing temperatures (below 40°F/4°C)—tools can dull, and sap flow slows. Wait for a mild day (above 32°F/0°C) to work.
What if I accidentally cut too much off?
Don’t panic! If you’ve removed more than 25%, focus on these recovery steps:
- Apply wound paint (optional) to large cuts to prevent disease.
- Water deeply and fertilize with high-nitrogen fertilizer to boost regrowth.
- Monitor for stress signs (yellowing leaves, wilting) and prune less aggressively next time.
Wrapping up and next steps
Pruning your apple tree doesn’t have to be intimidating—with the right tools, timing, and techniques (like our handy diagram), you’ll keep your tree thriving for years! Remember, patience and consistency are key: focus on removing dead wood, shaping for airflow, and encouraging strong growth. 🌳✨
Now that you’re ready to roll up your sleeves, grab your pruners and start small. Try one branch at a time, and soon, you’ll see your apple tree reward you with bountiful harvests and stunning blooms. Happy pruning!