How To
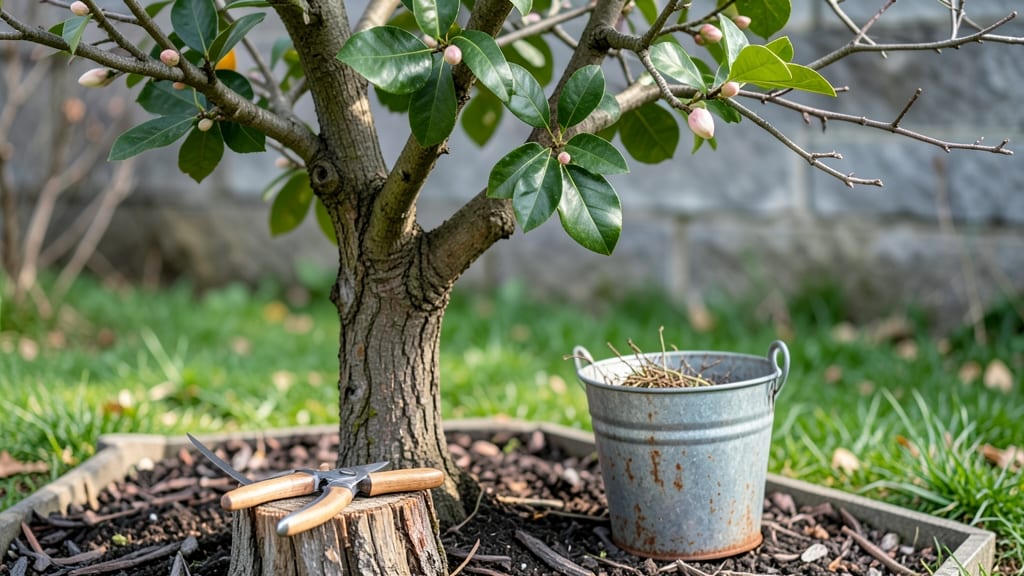
Pruning a fruit tree isn’t just about hacking away branches—it’s the secret to unlocking bigger harvests and healthier trees. ✂️ I’ve seen firsthand how proper cuts in late winter can triple next summer’s peach crop, while summer pruning keeps apples from crowding each other into tiny, mealy fruits.
The key is understanding when to trim for growth and when to open up the canopy for sunlight.
You’ll need just three tools: sharp pruning shears for small branches, loppers for thicker limbs, and a saw for anything over 2 inches thick. Timing matters most—dormant-season cuts heal fastest, while summer pruning controls size and shapes fruit.
Start by removing dead wood first, then thin out crossing branches to let air circulate. Every cut should aim to keep the tree’s natural shape while opening it up to sunlight and reducing disease risk.
📚 In This Guide
- What you need
- Instructions
- Tips and common mistakes
- Wrapping up and next steps
What you need
- ● Pruning shears (bypass pruners): Sharp, high-quality shears (10-12" blade length) for cuts up to ½ inch in diameter. Example: Felco F-2 or Corona.
- ● Loppers: For thicker branches (½–1½ inches in diameter). Look for bypass-style loppers with a 16-20" handle for leverage.
- ● Pruning saw: A curved-tooth saw for branches over 1½ inches thick. Avoid cheap saws—they dull quickly!
- ● Gloves: Heavy-duty, cut-resistant gloves (e.g., Mechanix or leather) to protect your hands from thorns and splinters.
- ● Disinfectant (70% isopropyl alcohol or bleach solution): Clean tools between cuts to prevent disease spread (1 part bleach to 9 parts water).
- ● Rubbing alcohol or hand sanitizer: For wiping down tools mid-pruning.
- ● Tarp or drop cloth: Lay beneath the tree to collect debris and protect the lawn.
- ○ Pole pruner (optional but helpful): Extendable shears for high branches (12–16 feet).
- ● Pruning sealant: For large cuts (over 2 inches) to reduce sap loss (e.g., Tanglefoot Tree Wound Pruning Seal). Pro tip: Only use on fruit trees—avoid on shade trees like oaks!
- ● Ladder: A sturdy, extension ladder (20–30 feet) for tall trees. Safety first! Use stabilizers and never stand on the top rung.
- ● Marking spray: Temporary spray paint to mark branches for removal (e.g., pink or yellow).
- ● Safety glasses: Protect your eyes from debris, especially when using a saw.
- ● First-aid kit: For minor cuts or scrapes (because thorns are sneaky!).
Step-by-Step instructions for pruning a fruit tree
Here's the method I've used for years to keep my fruit trees healthy and productive.
✂️ Step 1: Gather Your Tools and Assess the Tree
Start with sharp, clean tools—a pruning saw for thick branches, bypass pruners for medium limbs, and hand pruners for small growth. Disinfect them with rubbing alcohol to prevent spreading disease between cuts. I always inspect the tree first—look for dead, diseased, or crossing branches that need immediate removal.
Check for any signs of pests or fungal growth. If you spot anything suspicious, make a note to treat it after pruning. The best time to prune is during the tree's dormant season, but light shaping can happen year-round if needed. For stone fruits like peaches, avoid heavy pruning in late summer to prevent silver leaf disease.
✂️ Step 2: Remove Dead, Diseased, and Crossing Branches
Begin by cutting out any branches that are dead, diseased, or rubbing against each other. These are the first priorities because they drain energy and create entry points for pests. Make your cuts just outside the branch collar—the swollen area where the branch meets the trunk. This ensures the tree can seal the wound properly.
For crossing branches, remove the one that grows more vertically to open up the center of the tree. This improves airflow and sunlight penetration, which reduces disease risk. If a branch is diseased, cut back to healthy wood and sterilize your tools between cuts. You'll know you're doing it right when the tree's structure starts looking more balanced and open.
✂️ Step 3: Shape the Tree for Airflow and Light
Next, focus on shaping the tree to encourage strong growth and fruit production. Remove any branches that grow inward or block sunlight from reaching the center. Aim to create an open center with a well-spaced framework. For young trees, this is the time to establish the main branches—select 3-5 strong, evenly spaced branches to form the scaffold.
Thin out excess growth to reduce competition for nutrients. You want to leave enough space between branches so air can circulate freely. If you're unsure which branches to keep, look for ones that grow outward at a 45-degree angle from the trunk. These will naturally form a strong structure. Avoid cutting back more than 25% of the tree's foliage in one season to prevent stress.
✂️ Step 4: Refine the Canopy and Encourage Fruit Production
Now, refine the canopy by trimming back any suckers—those vigorous shoots that grow from the base or trunk. These compete with the main branches for energy. Also, shorten last year's growth by about one-third to encourage new, fruiting wood. This is where you'll see the most immediate difference in fruit production next season.
For fruit trees, focus on removing branches that produce only small or poor-quality fruit. You want to leave the ones that bear the best-quality fruit and have the strongest growth. If you're pruning in late winter or early spring, you'll also want to make sure you're not removing flower buds that will produce this year's crop. A quick glance at the buds will tell you which branches to keep.
⏰ Step 5: Clean Up and Monitor the Tree
After pruning, clean up all the debris from the area around the tree. This helps prevent pests and diseases from taking hold. I always rake up and dispose of the clippings—don't leave them on the ground where they can harbor fungi or attract pests. Now's also a good time to apply a fresh layer of mulch around the base of the tree to retain moisture and suppress weeds.
Keep an eye on the tree in the weeks following pruning. If you notice any signs of stress—like wilting leaves or oozing sap—you may have pruned too aggressively. Water the tree deeply after pruning to help it recover. Over the next few weeks, you'll see new growth emerge from the cuts, signaling that the tree is healing and preparing for the next growing season.
Tips & tricks for pruning a fruit tree
Real talk: Pruning isn't just about cutting branches—it's about creating a balanced, productive tree. Here's what nobody tells you about getting it right.
Tool Prep is Non-Negotiable: Before you even touch the tree, sterilize your tools between cuts—especially when dealing with diseased branches in Step 2. I use rubbing alcohol on a paper towel between each cut, and I keep a small spray bottle of diluted bleach water (1 part bleach to 9 parts water) nearby for quick disinfection. This prevents spreading disease from one branch to another. Confession: I skipped this step for years and wondered why my trees kept getting infections.
Branch Collar Matters More Than You Think: When making cuts in Step 2, always look for that swollen area where the branch meets the trunk—the branch collar. This isn't just a detail—it's how the tree naturally heals itself. Cutting too close to the trunk (or worse, flush with it) creates wounds that never properly seal, inviting pests and disease. Think of it as the tree's natural bandage—don't remove it!
The 45-Degree Rule for Young Trees: In Step 3, when establishing your scaffold branches, aim for that perfect 45-degree angle from the trunk. These branches will form the backbone of your tree's structure. I've seen too many people leave branches growing straight up or outward at extreme angles—these create weak points that break easily. The 45-degree angle gives you the strongest framework while still allowing good airflow through the center.
Pruning Timing for Stone Fruits: Remember what the instructions said about stone fruits like peaches? That late-summer warning isn't just cautionary—it's critical. Silver leaf disease thrives when you prune these trees during their active growing season. If you must do light shaping in summer, wait until just after harvest when the tree has started its natural decline. For other fruit trees, dormant season pruning (late winter/early spring) gives you the cleanest cuts and best results.
Pro Tips for Prune A Fruit Tree
- Real talk: Pruning isn't just about cutting branches—it's about creating a balanced, productive tree.
- Tool Prep is Non-Negotiable: Before you even touch the tree, sterilize your tools between cuts—especially when dealing with diseased branches in Step 2.
- Branch Collar Matters More Than You Think: When making cuts in Step 2, always look for that swollen area where the branch meets the trunk—the branch collar.
Frequently asked questions
Got questions about pruning your fruit tree? You’re not alone! Here are answers to the most common concerns—from timing to tools—to help you prune like a pro.
When is the best time to prune a fruit tree?
The ideal time depends on your tree type. For most fruit trees, late winter or early spring (before buds swell) is best. Summer pruning can encourage new growth, while fall pruning risks disease. Ever-bearing varieties (like strawberries) may need light pruning after harvest. Always prune when the tree is dormant for cleaner cuts and less stress.
Can I prune a fruit tree at any time of year?
While you can prune year-round, timing matters. Avoid heavy pruning in late fall or winter (unless in mild climates) to prevent frost damage. Summer pruning is fine for shaping, but avoid removing more than 25% of the canopy at once. If you must prune outside the ideal window, focus on removing dead or diseased branches first.
What if I accidentally cut too much off my tree?
Don’t panic! Over-pruning can stress the tree, but it’s not irreversible. Focus on encouraging new growth by watering well and applying a balanced fertilizer. In the following season, prioritize pruning to restore shape and remove any dead wood. Young trees are more resilient—older trees may take longer to recover.
Do I need special tools to prune a fruit tree?
Basic tools suffice for most jobs: sharp pruning shears (for small branches), loppers (for thicker branches), and a pruning saw (for large limbs). Disinfect tools between cuts with rubbing alcohol to prevent disease spread. A sturdy ladder and gloves are also handy for safety. No fancy equipment? A well-sharpened knife works in a pinch!
How do I know if my tree needs pruning?
Watch for these signs: crowded branches, dead/diseased wood, crossing limbs, or a shape that blocks sunlight. If your tree’s fruit is small or sparse, or if branches are growing inward, it’s time to prune. Regular inspections (every few months) help catch issues early. Think of pruning as a health check for your tree!
Wrapping up and next steps
Pruning your fruit tree might feel like a daunting task at first, but with the right tools, timing, and technique, you’ll unlock a healthier, more productive tree—and a bountiful harvest for years to come! 🌳✨ Remember, consistency is key: whether you’re shaping young branches or maintaining mature growth, every cut brings you closer to that perfect orchard scene.
Now that you’re armed with knowledge, grab those pruners and get started—your future fruit will thank you!
Pro tip: Keep a pruning journal to track your progress and adjust as your tree grows!