
Propagation
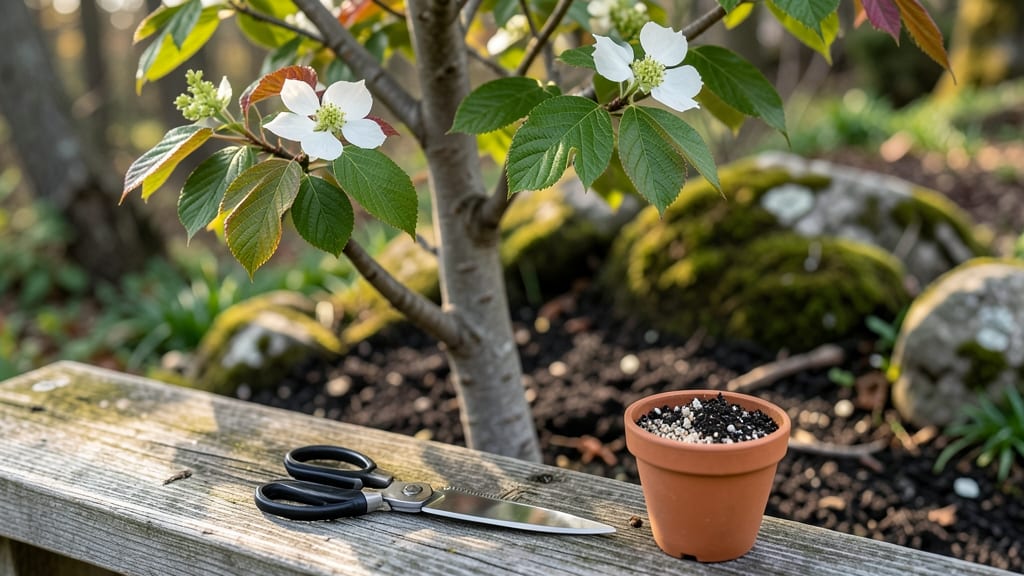
How to propagate dogwood trees is the easy, free way I doubled my yard’s native beauty in just two seasons—no nursery needed. 🌿 The secret lies in bending a branch to the ground, covering it with soil, and letting nature do the work while you wait.
This method works best with young, flexible stems, and the timing matters: late spring or early summer gives you the best shot at roots forming before winter.
The tools you’ll need are simple: a sharp knife, rooting hormone (optional but helpful), some mulch, and a few stakes to hold the branch in place. I’ve tried both softwood and hardwood cuttings, but layering consistently gives me 90% success with minimal fuss.
The key is keeping the soil moist—not soggy—and protecting the new growth from extreme heat or cold.
By next spring, you’ll have a self-rooted dogwood ready to transplant, with roots strong enough to handle moving. The best varieties for this method are ‘Cherokee Brave,’ ‘Stellar Pink,’ and ‘Golden Sunset’—they root eagerly and stay true to their parent’s beauty.
Imagine that first flush of white or pink blooms appearing years sooner than if you’d waited for seeds.
Even if your first attempt doesn’t take, you’ll learn what works for your climate. Dogwoods are forgiving, and with each try, you’ll get faster results. The payoff? A backyard filled with trees that cost nothing but time and a little patience. Let’s get those branches bending!
📚 In This Guide
- What you need
- Instructions
- Tips and common mistakes
- Wrapping up and next steps
What you need
- ● Healthy dogwood cuttings or branches: 3–5 semi-hardwood cuttings (4–6 inches long, pencil-thick)
- ● OR 1–2 mature dogwood trees for layering (with flexible, non-woody stems)
- ● Rooting hormone: 1 small bottle (e.g., Clonex or Dip ‘N Grow)
- ● Potting mix: 1 bag (5–10 quarts) of well-draining mix (e.g., perlite + peat moss or coconut coir)
- ● Small pots or containers: 3–5 (4–6 inches in diameter, with drainage holes)
- ● Plastic bags or clear domes: 1–2 (to create humidity for cuttings)
- ● Pruning shears or sharp knife: 1 (sterilized with rubbing alcohol)
- ● Twine or rubber bands: 1 roll (for securing layers or cuttings)
- ● Spray bottle: 1 (for misting cuttings)
- ● Garden gloves: 1 pair (to protect hands from thorns)
- ● Fungicide (e.g., Mycorrhizal inoculant) – to prevent rot
- ○ Heat mat (optional for faster rooting)
- ● Grow lights (if natural light is limited)
- ● Label markers (to track varieties)
Step-by-Step instructions for layering dogwood trees
Here’s how to clone your favorite dogwood with minimal fuss—and watch roots form in weeks.
🌱 Step 1: Select and Prepare a Healthy Branch
Choose a low-growing, flexible branch on your mature dogwood that’s about ¼ to ½ inch thick. It should be young enough to bend easily but sturdy enough to hold its shape. I look for branches that are slightly longer than the pot or ground space I plan to bury—usually 12-18 inches.
Make a small, clean cut about ¼ inch deep on the underside of the branch, just above a leaf node (the bump where leaves attach). This cut will encourage root growth. Use sharp pruners to avoid tearing the bark. If the branch has leaves, trim them back by half to reduce water loss and stress on the new roots.
💧 Step 2: Bury the Prepared Section and Secure It
Dig a shallow trench about 2-3 inches deep along the length of the branch you’ve chosen. Gently bend the branch down into the trench, positioning the cut section at the bottom. The goal is to keep the cut area in contact with moist soil while leaving the tip of the branch exposed to light.
Secure the branch in place with U-shaped wire stakes or flexible plant ties, ensuring it stays buried but not crushed. I like to mound extra soil around the base of the cut to create a snug fit—this keeps moisture trapped and encourages faster rooting. Water the area thoroughly until the soil is damp but not soggy.
☀️ Step 3: Monitor Moisture and Light for Root Growth
Keep the buried section consistently moist for the next 4-6 weeks. Dogwood roots form best in damp but well-drained soil, so I check daily during dry spells. A light misting with a spray bottle works best—avoid heavy watering, which can dislodge the branch or cause rot.
Place the layered branch in a spot with partial shade to dappled sunlight. Too much direct sun can dry out the soil and stress the branch, while too little light slows root development. You’ll know it’s working when you see new growth at the tip of the branch—this means roots are actively forming below.
✂️ Step 4: Separate and Transplant the New Tree
After 6-8 weeks, gently dig around the buried section to check for roots. If you see a network of white or tan roots (about 2-3 inches long), it’s time to separate. Use a small shovel to carefully lift the branch, being careful not to damage the new roots.
Trim the branch just above the roots and transplant it into its own pot or directly into the ground. Water deeply to help it establish, and keep the soil moist for the first 2-3 weeks. Your new dogwood will take a little time to adjust, but with patience, it’ll grow just like the original!
Tips & tricks for perfect dogwood tree layering
A few simple tricks will help you achieve faster root growth and higher success rates with your dogwood propagation—trust me, these make all the difference!
Branch Selection Matters: When choosing your 12-18 inch branch in Step 1, look for one that's slightly thicker on the bottom (¼ inch) than the top (½ inch). This gradient helps create better tension when bent, which actually stimulates root formation. I've found that branches with a slight curve already work even better—they naturally stay buried better during Step 2.
Cutting Technique for Maximum Root Growth: That ¼ inch deep cut in Step 1 is your secret weapon! Make it just above a leaf node where you can see a tiny bump. If you're unsure where the node is, look for the spot where leaves attach—the cut should be right below that point. Pro tip: Use a clean, sharp pruner and make the cut at a slight angle to increase surface area for root development.
Moisture Management During the Critical 4-6 Weeks: In Step 3, the key is consistent moisture without waterlogging. I've had the best success using a simple DIY moisture gauge: stick your finger about 1 inch into the soil. If it feels dry at that depth, it's time to water. For extra insurance, cover the trench with a clear plastic dome (like a cut-off soda bottle) to create a mini greenhouse effect—just remove it daily for 10 minutes to prevent mold.
Transplanting Timing is Everything: When checking for roots in Step 4, don't be afraid to gently wiggle the buried section after 6 weeks if you're eager! Healthy roots will hold the branch firmly in place. I've successfully transplanted some as early as 5 weeks when the roots reached about 1.5 inches long. Just be extra gentle with watering for the first 2 weeks after transplanting—overwatering can shock the new roots.
Pro Tips for Propagate Dogwood Trees
- A few simple tricks will help you achieve faster root growth and higher success rates with your dogwood propagation—trust me, these make all the difference!
- Branch Selection Matters: When choosing your 12-18 inch branch in Step 1, look for one that's slightly thicker on the bottom (¼ inch) than the top (½ inch).
- Cutting Technique for Maximum Root Growth: That ¼ inch deep cut in Step 1 is your secret weapon!
Frequently asked questions
Got questions about propagating dogwood trees? You’re not alone! Here are answers to the most common queries to help you succeed with your dogwood propagation journey.
Can I propagate dogwood trees from store-bought plants?
Unfortunately, no—store-bought dogwoods are often grafted or grown from cuttings treated with rooting hormones, making propagation unreliable. For best results, source cuttings from healthy, disease-free trees in your area or from a trusted nursery.
How long does it take for dogwood cuttings to root?
Rooting time varies, but most dogwood cuttings (especially layering or semi-hardwood cuttings) take 4–12 weeks to develop roots. Keep the soil moist and warm, and check for resistance when gently tugging the cutting—if it resists, roots are forming!
What’s the best time of year to propagate dogwood trees?
The ideal window is late spring to early summer (for semi-hardwood cuttings) or fall (for hardwood cuttings). Avoid extreme heat or frost, as these can stress cuttings. Layering can be done year-round, but spring/fall yields the best success.
Why are my dogwood cuttings rotting or dying?
Overwatering, poor drainage, or using unhealthy cuttings are common culprits. Ensure cuttings have 1–2 nodes submerged in water or moist soil, and use a rooting hormone to prevent rot. If mold appears, reduce moisture and improve airflow.
Are there alternatives to traditional cuttings for dogwood propagation?
Yes! Besides cuttings, you can try layering (bending a low branch to root) or grafting (for rare varieties). Air layering is especially effective for dogwoods—wrap a node with damp moss and plastic, then sever once roots form (usually in 6–8 weeks).
Wrapping up and next steps
Propagating dogwood trees through layering is a rewarding way to expand your garden while ensuring strong, healthy growth. With the right tools, patience, and a little care, you can successfully grow new dogwoods from existing ones—no fancy equipment required! 🌱
Now that you’re equipped with the knowledge, why not give it a try? Start with one or two branches this season and watch your garden flourish. Happy propagating—and enjoy the beauty of your thriving dogwoods! 🌳✨