
Propagation
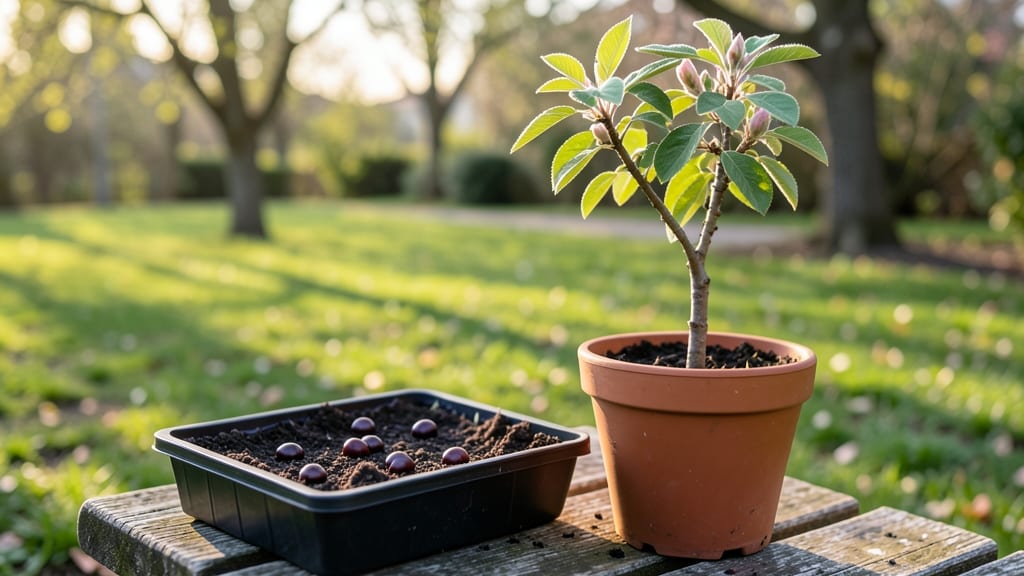
Growing a cherry tree from seed means waiting a decade for fruit—but the journey itself is worth it. 🌱 I’ve started more seeds than I can count, and cherries from seed are the ultimate test of patience, rewarding you with a tree that’s uniquely yours.
The first step is picking the right seed, because not all cherries play nice when grown from seed. Sweet cherries often fail to produce true fruit, but sour cherries like Montmorency are the reliable workhorses of seed propagation.
The real magic happens in the germination stage, where warmth and moisture work together to coax life from a tiny stone. You’ll need a warm spot—think heated mat or sunny windowsill—and consistent moisture to keep those seeds happy.
Most seeds sprout within 4-8 weeks, though some stubborn ones take twice as long. Once they break through the soil, you’ll have seedlings that look nothing like the parent tree, but that’s part of the adventure.
By year three, you’ll have a sturdy sapling ready for its forever home in the garden. With proper sunlight, water, and a little elbow grease, it’ll grow into a strong, disease-resistant tree.
The first real fruit won’t arrive for 8-12 years, but when it does, the taste of homegrown cherries—especially from a tree you nurtured from seed—is unmatched. Every bite carries the weight of years spent watching it grow.
Fair warning: if you’re impatient, grafting is the shortcut to fruit-bearing trees. But for those who love the slow, rewarding process, seed-grown cherries offer a connection to the land that store-bought trees can’t match. Here’s how to make it work—step by step.
📚 In This Guide
- What you need
- Instructions
- Tips and common mistakes
- Wrapping up and next steps
What you need
- ● Cherry seeds – 5–10 fresh, viable seeds (harvested from fully ripe cherries, cleaned and dried).
- ● Small pots or seed trays – 3–4" diameter, with drainage holes (biodegradable pots work too!).
- ● Well-draining potting mix – A blend of peat moss, perlite, and sand (or a seed-starting mix).
- ● Plastic wrap or humidity dome – To retain moisture while seeds germinate.
- ● Spray bottle – For gentle watering (avoid over-saturating!).
- ● Grow lights or sunny windowsill – A south-facing window or LED grow lights (12–16 hrs/day).
- ● Fertilizer (low-nitrogen) – Diluted fish emulsion or seaweed extract (once seedlings sprout).
- ● Pruning shears – For trimming leggy seedlings later.
- ● Patience! 😉 – Cherry trees from seed can take 5–10 years to bear fruit.
- ● Seed stratification kit – If your climate is warm, a fridge (34–41°F) for 6–8 weeks can boost germination.
- ● Rooting hormone – Speeds up early growth (dip seeds before planting).
- ● Thermometer/hygrometer – Monitors soil temp (60–70°F ideal for germination).
- ● Mulch (wood chips or straw) – Protects young trees from weeds and temp swings.
- ● Pollination aid – If growing multiple trees, a soft paintbrush helps hand-pollinate flowers later.
Step-by-step instructions for growing a cherry tree from seed
Start with fresh seeds and you'll have a living connection to nature's sweetest rewards.
🌱 Step 1: Extract and Prepare the Seeds
Pick a ripe, firm cherry from your favorite tree—one that's fully colored and slightly soft to the touch. Cut it open and remove the single large seed inside. Don't use dried or shriveled cherries—they won't germinate well. Rinse the seed gently to remove any fruit residue, then let it air-dry completely on a paper towel for 24 hours. This prevents mold when you store it.
Here's the thing—cherry seeds need a cold period to break dormancy. After drying, place the seed in a small plastic bag with a bit of damp sand or paper towel. Seal it loosely and refrigerate for 3-4 months. This mimics winter conditions and triggers germination. Check occasionally to ensure the medium stays barely moist, not soggy.
💧 Step 2: Plant the Stratified Seed
When your 3-4 month cold treatment is complete, fill a small pot (3-4 inches deep) with sterile seed-starting mix—never garden soil. Make a ½-inch deep hole in the center and place your seed inside, pointy end up. Cover it with a thin layer of soil, just enough to hide the seed completely. Press down lightly so the soil makes good contact with the seed.
Water gently until the soil feels evenly moist but not dripping. Place the pot in a warm spot (65-75°F) with bright, indirect light. A sunny windowsill works, but avoid direct midday sun—it can overheat the small pot. You'll see the first signs of life in 4-8 weeks, though some seeds take longer. Patience is key here—don't disturb the soil or move the pot until you spot the first sprout.
☀️ Step 3: Transplant and Provide Care for Young Seedlings
Once your seedling reaches 4-6 inches tall and develops its second set of true leaves (not the initial seed leaves), it's time to transplant. Choose a 6-inch pot with drainage holes and fill it with fresh seed-starting mix. Dig a hole twice as wide as the seedling's root ball and gently place it in, covering the roots completely. Water thoroughly to settle the soil around the roots.
Move the young tree to a sunny location with at least 6 hours of direct sunlight daily. If growing indoors, supplement with a grow light kept 4-6 inches above the plant. Keep the soil consistently moist—never soggy—by watering when the top inch feels dry. Fertilize lightly with a balanced houseplant fertilizer (half-strength) every 4-6 weeks during the growing season. You'll notice new leaves forming within a few weeks of proper care.
🌿 Step 4: Acclimate and Plant Outdoors
After your seedling has grown for 1-2 years indoors, it's ready to move outside. Choose a permanent outdoor location with full sun and well-draining soil. Harden off the plant by placing it outside in a sheltered spot for 1-2 hours the first day, gradually increasing to full sun exposure over 7-10 days. This slow transition prevents shock and helps the plant adjust to outdoor conditions.
Dig a hole twice as wide as the root ball and as deep as the pot. Remove the seedling carefully, place it in the hole, and backfill with soil, pressing down gently to eliminate air pockets. Water deeply to help the roots settle. Mulch around the base with 2-3 inches of organic mulch to retain moisture and regulate soil temperature. Your young cherry tree will need 2-3 more years in the ground before it produces fruit, but the wait is worth it.
Tips & tricks for growing a cherry tree from seed
Growing a cherry tree from seed is a rewarding journey that requires patience and attention to detail. Here are the essential tips to maximize your success.
Seed Selection Matters: Choosing the right cherry is crucial. Sweet cherries (like Bing or Rainier) are easier for beginners, while sour cherries (like Montmorency) can be more challenging. Avoid cherries from grocery stores—they're often treated to prevent sprouting. Instead, source seeds from a local orchard or a trusted grower. I learned this the hard way after struggling with store-bought cherries that refused to germinate.
Cold Treatment Consistency: The 3-4 month refrigeration period is non-negotiable for breaking dormancy. Set a reminder to check your seed every 2-3 weeks—it should feel damp like a wrung-out sponge, not soggy. If you forget, don't panic: simply adjust the moisture and continue the cold treatment. The key is maintaining that barely-moist environment consistently. Between us, I've had seeds mold when I overwatered, so err on the side of dryness.
Lighting Setup for Sprouting: That 65-75°F warm spot with bright indirect light is critical. A sunny windowsill works, but avoid southern-facing windows that can scorch tender seedlings. I've found that placing pots on a table near an east-facing window gives perfect morning light without overheating. If you're using a grow light, keep it 4-6 inches above the pot and run it for 12-14 hours daily. The first signs of life might take 4-8 weeks, so don't disturb the soil—just wait and watch.
Transplanting Timing: Wait until your seedling reaches 4-6 inches tall and has its second set of true leaves before transplanting. This ensures the roots are strong enough to handle the move. When you transplant to the 6-inch pot, gently loosen the root ball if it's tightly packed—this prevents shock. I always water thoroughly after transplanting to help settle the soil around delicate roots. Remember, patience during these early stages pays off with a healthier tree.
Pro Tips for Grow Cherry Fruit Tree From Seed
- Growing a cherry tree from seed is a rewarding journey that requires patience and attention to detail.
- Seed Selection Matters: Choosing the right cherry is crucial.
- Cold Treatment Consistency: The 3-4 month refrigeration period is non-negotiable for breaking dormancy.
Frequently asked questions
Got questions about growing cherry trees from seed? You’re not alone! Here are answers to some of the most common queries to help you navigate this rewarding (but patient) journey.
How long does it take for a cherry tree grown from seed to bear fruit?
A cherry tree grown from seed can take 7–10 years (or even longer!) to produce fruit. This is because seed-grown trees often take time to mature and may not be true to the parent variety’s traits. For faster results, consider grafting or buying a young sapling.
Can I grow a cherry tree from seed in cold climates?
Yes, but choose cold-hardy varieties like Prunus avium (sweet cherry) or Prunus cerasus (sour cherry). Start seeds indoors 8–10 weeks before the last frost, then transplant seedlings outdoors in spring. Mulch heavily in winter to protect young roots from freezing.
Will my seed-grown cherry tree produce the same fruit as the parent?
Probably not! Seed-grown cherry trees are not genetically identical to the parent. They may produce smaller, tart cherries or even wild-type fruit. For consistent, high-quality cherries, grafting a known variety onto your seedling is the way to go.
What are the most common problems when growing cherry trees from seed?
Watch for:
- Damping off: Fungal rot in seedlings (keep soil moist but not soggy).
- Pests: Aphids, borers, or birds pecking at fruit (use netting or organic sprays).
- Slow growth: Seedlings may struggle in poor soil—amend with compost and ensure full sun.
Can I grow cherry trees from store-bought cherries?
Yes, but success depends on the variety. Sweet cherries (like Bing or Rainier) often won’t produce true fruit. Sour cherries (Montmorency) have a better chance. Remove the pit, dry it, and plant it—just don’t expect gourmet cherries right away!
Wrapping up and next steps
Growing a cherry fruit tree from seed is a rewarding journey that blends patience, care, and a touch of gardening magic! 🌱 While it may take years before you enjoy sweet, juicy cherries, the process itself is a fulfilling adventure.
Once your seedling is thriving, consider transplanting it outdoors or sharing your newfound knowledge with fellow gardening enthusiasts—because great things grow from small seeds!
🌟 Next Steps:
- Monitor your seedling’s growth and provide consistent care.
- Research grafting techniques (if you want faster fruiting).
- Join gardening communities to share tips and celebrate milestones!