
Container Gardens
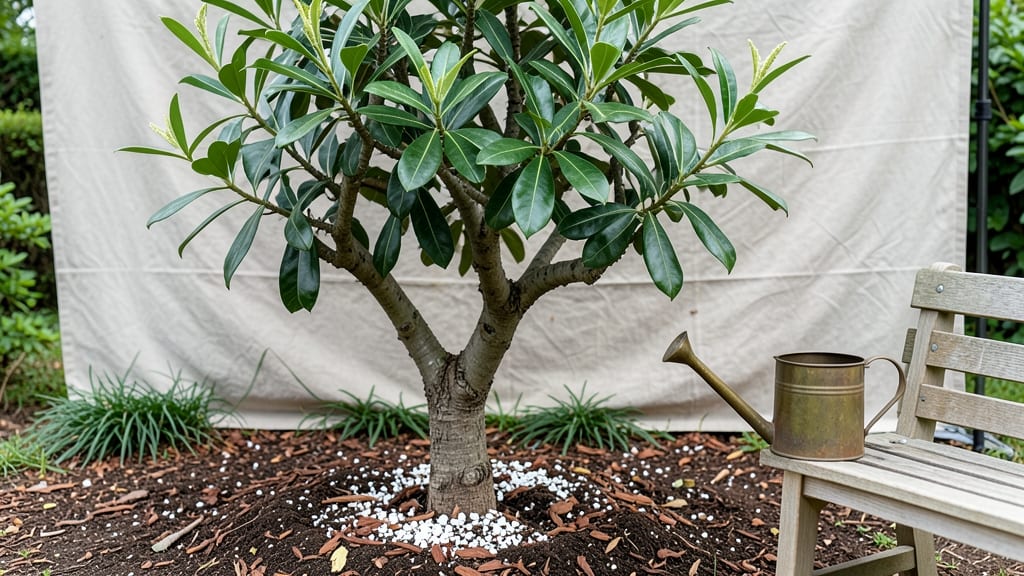
Growing an avocado tree from a single pit feels like magic—especially when you end up with a lush, leafy houseplant that produces fruit in just a few years. 🌱 The secret isn’t complicated: it’s about patience, the right container, and keeping those roots happy without overcomplicating things.
My first attempt took off after I realized most failures come from either drowning the seed or using the wrong soil mix.
You’ll need just a few things: a clean avocado pit, a jar of water (for germination), a well-draining potting mix, and a container at least 12 inches deep—though bigger is better for long-term growth.
The soil should be light and airy, like a mix of potting soil and perlite, to prevent soggy roots that invite rot. Most people skip this step and wonder why their tree stalls out after a few months.
Within 4-6 weeks, you’ll see roots sprouting from the pit, and by the time the first leaves appear, you’ll be ready to transplant it into soil. Place your container near a bright, indirect window (south or west-facing works best) and water only when the top inch feels dry.
Prune leggy stems early to encourage bushier growth, and you’ll have a thriving tree that could live for decades—even if it never bears fruit.
Indoor growers often struggle with root-bound conditions or pests like spider mites, but a simple routine of checking leaves weekly and repotting every 2-3 years keeps problems at bay.
The real reward? A conversation piece that grows with you, whether you keep it on a sunny patio or tucked by the kitchen window.
📚 In This Guide
- What you need
- Instructions
- Tips and common mistakes
- Wrapping up and next steps
What you need
- ● Growing an avocado tree in a container is easier than you think—and all you need is a few simple supplies! Here’s what you’ll want to gather before you start your green-thumb adventure.
- ● Pro tip: 💡 If your container lacks drainage, add a layer of pebbles or broken pottery at the bottom to prevent root rot!
Step-by-Step instructions for growing an avocado tree in a container
Here's how to coax life from a pit and nurture a lush indoor tree.
🌱 Step 1: Prepare the Avocado Pit for Germination
Start by washing the avocado pit thoroughly to remove any fruit residue. I use a soft brush and warm water—this prevents mold and gives your seed a clean start. The key is to remove the pit from the fruit without damaging it, so don't scrub too hard.
Next, insert 3-4 toothpicks evenly around the pit, spacing them about ½ inch apart. These will suspend the pit above water in your glass. The toothpicks should be sturdy enough to hold the pit steady but not pierce the skin. Here's the thing—balance is critical. If the pit tips over, it'll rot before it germinates.
Fill a glass with 2-3 inches of water and place the pit on top, toothpicks down. The bottom third of the pit should be submerged—this keeps it hydrated without drowning it. Change the water every 2-3 days to prevent bacterial growth. You'll know it's working when the first signs of a tiny sprout appear at the top.
💧 Step 2: Encourage Root Growth and Prepare the Soil
Once roots emerge—usually within 2-6 weeks—they'll grow toward the water. This is your signal to prepare the container. I use a 6-inch diameter pot with drainage holes because avocado trees hate soggy roots. Fill the bottom ¼ inch with small pebbles or perlite to improve drainage and prevent compaction.
Add a mix of well-draining potting soil and sand or perlite (half and half works well). Avocado trees prefer slightly acidic soil, so a pH of 6.0-6.5 is ideal. Tap the pot gently to settle the mix, but don't pack it down—roots need air to grow.
Here's where it gets fun: carefully remove the pit from the water (roots and all) and nestle it into the soil. The roots should be just below the surface, and the top of the pit should sit about ½ inch below the soil line. Water lightly until the soil feels evenly moist but not soggy. Overwatering now will smother the delicate roots.
☀️ Step 3: Position for Light and Monitor Growth
Place your container in a spot with bright, indirect light—think east or west-facing windows. Direct sunlight can scorch the young leaves, so avoid south-facing windows unless you're using a sheer curtain to diffuse the light. You'll see new leaves emerge within 4-6 weeks, signaling that your tree is thriving.
Water when the top 1-2 inches of soil feel dry to the touch. Stick your finger in the soil—if it's damp, wait a day or two. Avocado trees are drought-tolerant once established, but young plants need consistent moisture. I like to water from the bottom by placing the pot in a tray of water for 10-15 minutes to encourage deep root growth.
Rotate the pot a quarter turn weekly so the tree grows straight and doesn't lean toward the light. You'll notice the stem strengthening and leaves developing a deeper green color. This is the moment that matters: patience pays off as your tree transforms from a pit into a lush, leafy plant.
🪴 Step 4: Prune and Repot for Long-Term Health
When your tree reaches 12-18 inches tall, it's time to prune. Use clean, sharp scissors to trim back any leggy growth or crowded branches. Focus on removing 10-15% of the foliage to encourage bushier growth. Prune just above a leaf node where new branches can sprout.
Repot every 1-2 years or when roots start circling the pot. Choose a container 2-3 inches larger in diameter and refresh the soil with a mix of well-draining potting soil and compost. The reason we repot is to give roots room to grow and prevent the tree from becoming root-bound, which stunts growth.
Fertilize lightly in spring and summer with a balanced, water-soluble fertilizer (10-10-10 works well). Dilute it to half-strength and apply every 4-6 weeks. Avoid fertilizing in fall or winter—your tree is dormant and doesn't need extra nutrients. You'll see a burst of new growth in response, proving you're on the right track.
Tips & tricks for growing a thriving avocado tree in a container
These simple strategies will help you avoid common pitfalls and give your indoor avocado tree the best possible start.
Germination Setup: For extra stability in Step 1, use 4 toothpicks instead of 3—this creates a more secure suspension. If your toothpicks don't hold the pit steady, try using wooden skewers instead. The key is keeping the pit balanced so it doesn't tip into the water and rot. I've seen pits wobble and sink when using flimsy toothpicks, so choose sturdy ones that won't bend.
Soil Mix Secret: In Step 2, when mixing your soil, add a handful of orchid bark to the sand/perlite mix. This improves aeration and mimics the avocado tree's natural forest floor habitat. The ½ and ½ ratio of potting soil to sand/perlite is perfect, but adding orchid bark helps prevent compaction over time. This is especially important when your tree grows larger and needs better drainage.
Light Positioning: For Step 3, if you don't have east or west windows, a grow light on a timer works beautifully. Place it about 12 inches above the plant and use it for 12-14 hours per day. Avocado trees need bright light but can't handle direct sun. I've had great success with LED grow lights that provide full-spectrum lighting. If using natural light, rotate your tree weekly to prevent it from leaning toward one side.
Watering Wisdom: When watering in Step 3, use the 10-15 minute bottom-watering method consistently. This encourages deep root growth rather than shallow roots that dry out quickly. I've found that bottom-watering also helps prevent fungal issues that can occur with overhead watering. Always let excess water drain completely—avocado trees hate soggy roots and will show stress if they're waterlogged.
Pro Tips for Grow An Avocado Tree In A Container
- These simple strategies will help you avoid common pitfalls and give your indoor avocado tree the best possible start.
- Germination Setup: For extra stability in Step 1, use 4 toothpicks instead of 3—this creates a more secure suspension.
- Soil Mix Secret: In Step 2, when mixing your soil, add a handful of orchid bark to the sand/perlite mix.
Frequently asked questions
Got questions?
Here are answers to common concerns about growing avocado trees in containers—because even the pros started with a single pit!
How long does it take for an avocado pit to sprout?
Patience is key! Most avocado pits sprout within 4–8 weeks, though some take up to 3 months. Keep the toothpicks moist, avoid overwatering, and place the jar in bright, indirect light. If nothing happens after 2 months, don’t panic—some pits just need more time!
When can I transplant my avocado seedling into a pot?
Wait until your seedling has 2–3 inches of roots and a few leaves (usually 3–6 months after sprouting). Use a 5–7 gallon container with drainage holes and well-draining soil. Gently remove the seedling, trim any damaged roots, and water thoroughly to help it settle in.
Why is my avocado tree’s leaves turning yellow?
Yellow leaves usually mean overwatering or nutrient deficiency. Let the top inch of soil dry out between waterings, and fertilize every 2–3 months with a balanced liquid fertilizer (like 10-10-10). If the problem persists, check for pests like spider mites or root rot—adjust care accordingly!
Can I grow an avocado tree indoors year-round?
Yes! Avocado trees thrive indoors with bright, indirect light (e.g., near a south or west window). In winter, supplement with a grow light if natural light is scarce. Rotate the pot occasionally for even growth, and avoid drafts or sudden temperature drops (keep it between 60–80°F).
Will my container-grown avocado tree ever produce fruit?
It’s possible—but unlikely indoors! Most container-grown avocado trees from pits take 5–15 years to fruit (if they do at all). For faster results, consider grafting a fruiting variety onto your seedling. Even if it doesn’t bear fruit, the tree makes a stunning houseplant with glossy leaves!
What if my avocado tree outgrows its container?
Upgrade to a larger pot (10–15 gallons) every 2–3 years or when roots circle the drainage hole. Prune roots gently during repotting, and refresh the soil with a well-draining potting mix. If outdoor space allows, you can eventually transition it to a large raised bed for better growth!
Wrapping up and next steps
Growing an avocado tree in a container is a rewarding journey that combines patience, care, and a little creativity—and you’ve got all the tools to succeed! 🌱 From sprouting your pit to nurturing a thriving plant, every step is an opportunity to connect with nature, even indoors.
Now that you’re armed with tips on soil, sunlight, and pruning, it’s time to roll up your sleeves and watch your tiny tree grow.
Your next logical step? Start with that avocado pit today! Pick your favorite fruit, follow the steps, and soon, you’ll be sharing your green thumb’s success with friends—or even harvesting fresh avocados in years to come. Happy growing! 🌟