
Propagation
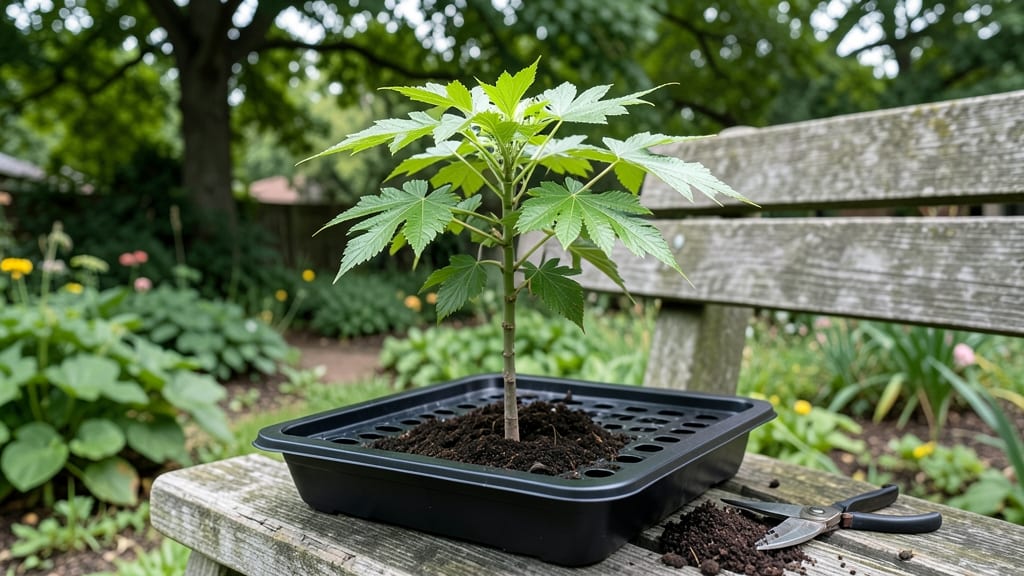
Growing a walnut tree from seed is the ultimate test of patience—but the first harvest of those massive, buttery nuts makes every year of waiting worth it. I’ve nurtured walnut seedlings from acorn to sapling, and the key starts with selecting the right seed and creating the perfect germination conditions.
The process isn’t fast, but there’s nothing like watching a tree you grew from scratch produce its first crop after a decade.
You’ll need fresh walnuts (not store-bought), a warm spot, and a little creativity for the stratification step. The real secret? Mimicking nature by soaking the seed, then chilling it for months before planting.
Most gardeners give up here, but sticking with it through the slow germination pays off with a sturdy young tree. Just don’t expect instant results—walnut trees take time, but they’re worth every moment of waiting.
By the time your seedling reaches 10 feet, you’ll be dreaming of that first harvest. The trees develop deep roots, so they handle drought well once established, and their broad canopies provide shade for decades.
The nuts? Rich, flavorful, and far superior to anything you’d buy at the store. With proper care, your walnut tree could live for centuries, producing harvests long after you’ve retired.
Fair warning: squirrels and deer will test your patience before the tree matures. But with a little protection and consistent care, you’ll build a legacy tree that feeds your family—and maybe even your neighbors—for generations. Let’s get those acorns started right.
📚 In This Guide
- What you need
- Instructions
- Tips and common mistakes
- Wrapping up and next steps
What you need
- ● Fresh walnut seeds: 3–5 high-quality, disease-free seeds (preferably from a mature, healthy tree). 💡 Pro tip: Store-bought walnuts may not sprout well—opt for seeds from a local orchard or trusted source!
- ● Well-draining potting mix: 5–10 lbs of a blend designed for seedlings or container plants (avoid heavy clay soil).
- ● Containers: 3–5 biodegradable pots (3–4 inches deep) or
- ● A seed-starting tray with individual cells (for germinating seeds).
- ● Plastic wrap or humidity dome: To maintain moisture during germination.
- ● Spray bottle: For gentle watering (avoid over-saturating seeds).
- ● Grow lights or sunny windowsill: A south-facing window or LED grow light (12+ hours/day) for seedlings.
- ● Fertilizer: A balanced, water-soluble fertilizer (e.g., 10-10-10) for young seedlings (dilute to half-strength).
- ● Transplanting supplies: A larger container or garden bed (walnut trees need deep roots—aim for at least 18 inches of soil depth).
- ● Compost or aged manure: 2–3 lbs to enrich soil before transplanting.
- ● Soil moisture meter: To monitor water levels without overwatering.
- ● Mulch: Wood chips or straw to retain moisture and suppress weeds.
- ● Tree supports: Stakes or cages (for young trees in windy areas).
- ● Pruning shears: For shaping the tree as it grows (sterilize blades with rubbing alcohol!).
- ● Label markers: To track seed varieties and planting dates.
Step-by-step instructions for growing a walnut tree from seed
Here's how to nurture a walnut seed into a sturdy sapling ready for planting.
🌱 Step 1: Extract and Stratify the Seed
Start with fresh, plump walnuts—avoid those with cracks or soft spots. Crack the shell carefully with a nutcracker, then remove the seed inside. Place the seed in a small container and cover it with lukewarm water for 24 hours. This softens the hard outer shell and kickstarts germination.
After soaking, drain the water and wrap the seed in a damp paper towel. Fold the towel to hold moisture but not soak the seed. Place it in a sealed plastic bag and refrigerate for 8-12 weeks. This cold treatment, called stratification, mimics winter conditions and breaks seed dormancy. Check the towel weekly—if it dries out, mist it lightly with water.
Here's the thing—don't rush this step. Walnut seeds need this cold period to germinate properly. If you skip it, germination rates drop drastically, and seedlings may take months longer to sprout.
☀️ Step 2: Plant the Stratified Seed in a Container
Fill a 4-inch diameter pot with well-draining potting mix—avoid garden soil, which compacts too easily. Press the mix down lightly to create a firm base, then make a small hole about 1 inch deep with your finger. Place the stratified walnut seed inside, cover it with ½ inch of soil, and water gently until the surface feels moist but not soggy.
Place the pot in a warm, bright spot with indirect sunlight—a south-facing window works well. Walnut seedlings need warmth to germinate, ideally 65-75°F. A heat mat can help maintain consistent temperatures if your home runs cooler. Keep the soil evenly moist by watering when the top inch feels dry, but never let it sit in standing water.
You'll notice the first signs of germination in 4-8 weeks. The seedling will push through the soil with a small sprout, followed by the first true leaves. This is the moment that matters—once you see those leaves, you know your seed has broken dormancy successfully.
🌿 Step 3: Transplant and Care for the Sapling
When the seedling reaches 6-8 inches tall and develops 3-4 sets of true leaves, it's ready to move outdoors. Choose a permanent outdoor location with full sun and well-draining soil. Walnut trees need space—plant the sapling in a spot where it can grow to at least 30 feet tall without obstructions.
Dig a hole twice as wide as the root ball but no deeper. Gently remove the sapling from its pot, loosen the roots if they're circling, and place it in the hole so the top of the root ball sits just below soil level. Backfill with soil, tamp lightly to remove air pockets, and water deeply to settle everything in place.
Real talk: Walnut trees are slow growers, especially from seed. Expect only 6-12 inches of growth per year for the first few years. Mulch around the base with 2-3 inches of organic mulch to retain moisture and suppress weeds, but keep it 6 inches away from the trunk to prevent rot.
⏰ Step 4: Prune and Support for Long-Term Growth
In the first year, focus on light pruning to shape the tree and remove any dead or crossing branches. Use clean, sharp pruners to make cuts just above a leaf node or bud. Avoid heavy pruning—walnut trees respond poorly to aggressive trimming and may struggle to recover.
As the tree matures, watch for suckers—small shoots that grow from the base or roots. Remove these promptly, as they divert energy from the main trunk. By year 5, if the tree is still small, consider staking if it leans heavily. Use a single, flexible stake tied loosely to the trunk to provide support without restricting growth.
Don't skip this step (I learned the hard way). Neglecting pruning leads to a messy, weak tree with poor nut production. A well-maintained walnut tree will reward you with harvests in 10-15 years—patience really does pay off.
Tips & tricks for growing a walnut tree from seed
Common pitfalls—and how to sidestep every one. Walnut trees are rewarding but demand patience and precision. Here's what I've learned from years of trial and error to help you avoid the same mistakes.
Seed Selection Matters: Not all walnuts are created equal. Choose plump, heavy nuts with thick shells—they're more likely to contain viable seeds. Avoid walnuts with cracks, soft spots, or signs of mold. The 24-hour soaking period in Step 1 is your first chance to weed out weak seeds—if the water remains cloudy after soaking, that's a sign of poor quality. I've wasted countless hours on seeds that never sprouted because I skipped this visual check.
Stratification Consistency: The 8-12 week cold treatment is non-negotiable, but the details make all the difference. Place your seed bag in the crisper drawer of your fridge where temperatures stay most consistent around 35-40°F. Check weekly to ensure the paper towel stays damp but not soggy—over-moisture can lead to mold, while dryness halts germination. I learned this the hard way after losing three batches to inconsistent moisture levels.
Lighting Strategy: Walnut seedlings are sensitive to light conditions. While indirect sunlight works for initial germination, once you see true leaves in Step 2, move the pot to a spot with 6-8 hours of direct sunlight daily. A south-facing window is ideal, but if you're using artificial grow lights, position them 12-18 inches above the plant for 14-16 hours of light per day. Too little light causes leggy, weak seedlings that struggle to establish strong stems.
Transplant Timing: The 6-8 inch height requirement in Step 3 is crucial—waiting too long risks root-bound seedlings, while transplanting too early means the young tree isn't strong enough to handle outdoor conditions. Look for 3-4 sets of true leaves (not the initial seed leaves) as your best indicator. I recommend hardening off your sapling for 7-10 days before transplanting by gradually increasing its outdoor exposure during mild weather.
Pro Tips for Grow A Walnut Tree From Seed
- Common pitfalls—and how to sidestep every one.
- Seed Selection Matters: Not all walnuts are created equal.
- Stratification Consistency: The 8-12 week cold treatment is non-negotiable, but the details make all the difference.
Frequently asked questions
Got questions?
Growing a walnut tree from seed is rewarding but comes with its own quirks. Here are answers to the most common queries—so you can grow with confidence!
How long does it take for a walnut seed to sprout?
A walnut seed typically sprouts in 4–8 weeks if kept consistently moist and warm (around 70–75°F). Patience is key—some seeds may take longer, especially if stored improperly. Pro tip: Soak the seed for 24 hours before planting to speed up germination!
Can I grow a walnut tree indoors?
While walnut trees can start indoors, they’re not ideal for long-term growth. Seedlings need plenty of sunlight (6+ hours/day) and will outgrow containers quickly. If you try it, use a sunny windowsill or grow light, then transplant outdoors after the last frost. Warning: Walnut roots release juglone, a chemical that can harm nearby plants—keep it in a pot until established!
Why isn’t my walnut seed sprouting?
Common culprits include:
- Dry soil – Walnut seeds need consistent moisture (but not soggy!).
- Cold temps – Keep soil above 60°F for best results.
- Old or damaged seeds – Use fresh, plump nuts (store-bought may be treated to prevent sprouting).
- Poor stratification – If your climate is cold, mimic winter by chilling seeds for 2–3 months before planting.
Will my homegrown walnut tree produce edible nuts?
It’s possible, but not guaranteed! Most homegrown walnuts from seed won’t bear fruit for 10–15 years (or longer). Plus, they may not match store-bought varieties in taste or size. For faster, reliable nuts, consider grafting or buying a young tree from a nursery. Fun fact: Even if the nuts aren’t perfect, the tree’s wood and shade are worth the wait!
What’s the best time of year to plant walnut seeds?
The ideal window is late winter to early spring (just before last frost) or fall (8–10 weeks before first frost). Planting in fall lets nature handle stratification, while spring gives seeds a head start. Hot tip: If you plant in summer, keep soil cool and moist to prevent drying out!
Wrapping up and next steps
Growing a walnut tree from seed is a rewarding journey that blends patience with the joy of nurturing life from scratch. 🌱 With the right soil, care, and a little time, you’ll watch a tiny seed transform into a towering tree capable of bearing delicious nuts.
Once your sapling thrives, consider transplanting it to a permanent spot in your yard—where it can grow strong and healthy for decades.
Ready to take the next step? Start small: gather seeds, prepare your growing space, and give your walnut tree the love it deserves. Every gardener’s dream begins with a single seed—yours could be the start of a future harvest! 🌳✨