
Pruning
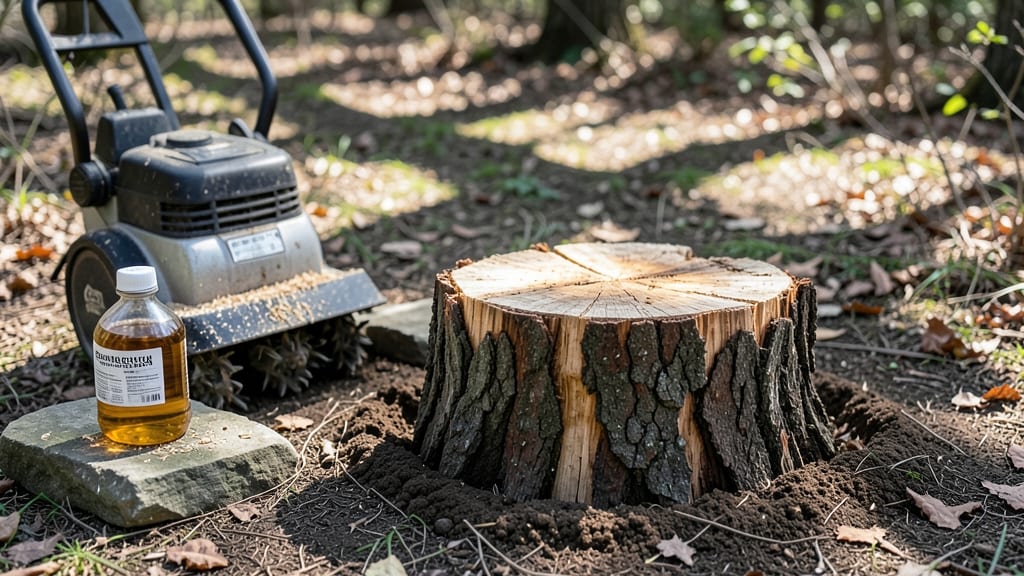
To chemically remove a tree stump fast—without digging—these powerful removers work overnight for a clean, hassle-free yard. I’ve used them to clear stubborn stumps that would’ve taken days with a shovel—now I just drill a hole, pour the solution, and step back.
The stump shrinks before your eyes, leaving clean soil behind.
You’ll need a stump removal chemical (like potassium nitrate-based products), a drill with a 1-inch bit, gloves, and water. The process is simple but requires patience—once the chemical starts working, it’s hands-off until the stump collapses.
Safety first: keep kids and pets away, and avoid using near roots of nearby plants.
What you’ll end up with is a flat, decaying stump ready for mulch or replanting within a day. The soil stays intact, and you skip the heavy lifting.
Just watch for moisture—dry stumps dissolve slower, so water the area lightly if your climate is arid. For stubborn stumps, repeat the treatment after 24 hours.
Not all stumps respond the same way—hardwoods like oak take longer than softwoods like pine. If you’re worried about the chemical’s impact, consider covering nearby plants with tarps or mulch. For a zero-chemical option, rent a stump grinder instead. Either way, you’ll have that eyesore gone fast.
📚 In This Guide
- What you need
- Instructions
- Tips and common mistakes
- Wrapping up and next steps
What you need
- ● Stump Remover Chemical: Choose a high-quality, fast-acting formula (e.g., Spectracide Stump Remover or BioAdvanced Stump & Root Destroyer). You’ll need about 1–2 gallons, depending on the stump’s size (follow product instructions for exact measurements).
- ● Drill with Auger Bit: A ½-inch to ¾-inch metal or wood auger bit (rent or purchase if needed). A cordless drill (18V or higher) is ideal for convenience.
- ● Measuring Cup or Funnel: For precise pouring of the chemical into the holes.
- ○ Water: A hose or bucket to wet the stump (optional but recommended for safety and effectiveness).
- ● Safety Gear: Nitrile gloves (heavy-duty, chemical-resistant)
- ● Safety goggles
- ● Long sleeves and pants (to protect skin from splashes)
- ● Respirator mask (if working in enclosed spaces or with strong fumes)
- ● Plastic Sheeting or Drop Cloth: To contain spills and protect surrounding soil/landscaping.
- ● Stump Grinder (for partial removal): If the stump is very large or you want to reduce its size before chemical treatment, renting a grinder can speed up the process.
- ● Post-Treatment Mulch or Soil: To cover the area after the stump decomposes (e.g., wood chips or compost).
- ● Marker or Spray Paint: To outline the area where the stump will be treated (helps with cleanup).
- ● Pet/Child Barrier: Temporary fencing or signs to keep animals/kids away while the chemical is active.
Step-by-step instructions for chemically removing a tree stump
Here's the proven method I use to dissolve stumps quickly and safely without digging.
Choose and Prepare the Right Chemical
Select a stump remover gel or powder specifically formulated for wood decomposition. I recommend a product with sodium hydroxide or potassium hydroxide, as these break down cellulose efficiently. Avoid generic weed killers—they won’t dissolve wood and may leave toxic residue.
Check the label for application rates. Most products specify 1-2 pounds per cubic foot of stump volume. For a 12-inch diameter stump, you’ll need roughly 2-3 pounds of product. Wear nitrile gloves, safety goggles, and long sleeves—chemicals can cause severe burns.
If your stump has cracks or holes, fill them with the chemical first. This ensures deep penetration. For solid stumps, drill ¼-inch holes every 6 inches around the perimeter and top. Seal the holes temporarily with tape to contain the chemical while you prepare the main application.
Apply the Chemical Evenly for Maximum Effect
Follow the product instructions for mixing (if applicable). For gels, use a caulking gun to inject the chemical into the drilled holes and along the edges of the stump. For powders, sprinkle directly into the holes and tap gently to settle it into crevices.
Cover the entire stump surface, including the top and sides. If the stump is large, divide the application into sections to ensure full saturation. Use a measuring cup or scale to apply the correct amount—overapplying won’t speed up the process but wastes product.
Once applied, seal the stump with a plastic tarp or heavy-duty trash bag. Secure it tightly with duct tape or bungee cords to trap moisture and heat, which accelerate decomposition. Leave a small vent hole if the product requires airflow, but most gels work best when fully enclosed.
Monitor and Maintain Moisture for Fast Dissolution
Check the stump every 24 hours for the first 3 days. The chemical reaction is most active when the wood softens and begins to crumble. You’ll notice darkening around the edges and a musty, fermenting smell—this is normal and indicates the process is working.
Keep the stump moist but not waterlogged. If the area dries out, spray with water to maintain chemical activity. Avoid soaking, as excess water can dilute the chemical and slow decomposition. A gentle misting every 2-3 days is sufficient unless your climate is extremely dry.
Within 5-7 days, the stump will weaken significantly. You’ll see cracks forming and the wood will feel spongy when pressed with a screwdriver. This is the moment to act—waiting too long risks the chemical spreading into surrounding soil.
Remove the Softened Stump Safely
Once the stump is 70-80% decomposed, it’s time to extract it. Use a shovel or mattock to chip away at the softened edges. The wood will break apart easily now, but wear gloves—sharp edges and splinters are common even in decomposed wood.
For stubborn sections, apply a second round of chemical directly to resistant areas. Let it sit for 12-24 hours before attempting removal again. If the stump is very large, consider renting a stump grinder for the final cleanup, but most chemically treated stumps will collapse with minimal effort.
After removal, dispose of the debris in your green waste bin or compost pile if the chemical is non-toxic. Rinse tools and gloves with vinegar and water to neutralize any residual chemical. The hole left behind can be filled with soil and planted—roots will regrow quickly in the disturbed area.
Tips & tricks for fast tree stump dissolution
These proven strategies will help you dissolve that stubborn stump efficiently while avoiding common pitfalls that slow down the process.
Chemical Selection Matters: Not all stump removers work the same—look for products with sodium hydroxide or potassium hydroxide as active ingredients. These chemicals break down cellulose most effectively. The 1-2 pounds per cubic foot guideline is critical: underapplying won't dissolve the stump, while overapplying wastes product and can harm surrounding plants. I've seen people use garden lime or vinegar thinking it would work—it won't, and you'll be left with an intact stump after weeks.
Drilling Strategy for Maximum Penetration: When drilling ¼-inch holes every 6 inches around the stump perimeter, don't just drill vertically—angle some holes downward toward the root system. This creates channels for the chemical to reach deeper into the wood. For particularly dense hardwoods like oak, add 2-3 extra holes on the sides. I learned this the hard way after struggling with a stubborn oak stump that took nearly twice as long to dissolve because the chemical couldn't penetrate the dense grain.
Sealing Technique for Optimal Results: The plastic tarp or trash bag seal isn't just about containment—it's about creating a microclimate. Trap moisture and heat by using heavy-duty contractor bags instead of household trash bags, as they hold up better to outdoor conditions. If you notice condensation forming inside, that's a good sign—the chemical reaction is working. For extra insurance in dry climates, place a water-filled spray bottle inside the seal with the stump to maintain humidity without over-saturating.
Timing Your Removal: The 5-7 day window for removal is when the stump becomes most vulnerable, but don't wait until day 7 hoping for faster results. At this stage, the wood should feel like a wet sponge when pressed—if it still resists, apply that second round of chemical immediately. I've seen people wait until day 10, only to find the chemical has spread into the surrounding soil, making the area unusable for planting for months.
Pro Tips for Chemically Remove Tree Stump
- These proven strategies will help you dissolve that stubborn stump efficiently while avoiding common pitfalls that slow down the process.
- Chemical Selection Matters: Not all stump removers work the same—look for products with sodium hydroxide or potassium hydroxide as active ingredients.
- Drilling Strategy for Maximum Penetration: When drilling ¼-inch holes every 6 inches around the stump perimeter, don't just drill vertically—angle some holes downward toward the root system.
Frequently asked questions
Got questions about chemically removing a tree stump? You’re not alone—this method is powerful but can feel tricky if you’re new to it. Below, we tackle the most common concerns to help you stump-removal like a pro!
How long does it really take for the stump to dissolve?
The magic happens in 24–72 hours, depending on the product and weather. Most stump removers work fastest in warm, dry conditions (think 70°F+). Check the label for exact timing—some brands even claim overnight results! Patience is key, though; rushing can lead to incomplete breakdown.
Is chemical stump removal safe for pets, kids, or plants nearby?
Safety first! Most potassium hydroxide-based or sodium hydroxide stump removers are highly caustic—keep pets and kids at least 20 feet away during and after application. Avoid treating near vegetable gardens, lawns, or water sources. Always wear gloves and goggles, and follow the product’s safety data sheet (SDS).
How much does chemical stump removal cost compared to digging or renting a stump grinder?
Chemical removal is the budget-friendly champ! A single bottle costs $10–$30, while digging or renting a grinder runs $50–$200+. Plus, you skip labor costs. Pro tip: If you’ve got multiple stumps, chemicals save you time and money. Just factor in the wait time—no instant gratification here!
What if it rains before the stump dissolves? Do I need to start over?
Rain can dilute the chemical, slowing down the process—but you’re not doomed! If caught early, reapply the product once the ground dries. Heavy rain might require a second treatment (check the bottle for guidance). Prevention tip: Choose a dry, sunny week for best results.
Can I plant something in the hole after the stump dissolves?
Once the stump is fully dissolved (usually 1–2 weeks later), the hole is ready for new plants, grass, or flowers. The decomposed wood even adds nutrients to the soil. Just rake or till the area to loosen it up before planting. Bonus: No need to haul away debris—nature handles the cleanup!
Wrapping up and next steps
Chemically removing a tree stump is a fast, efficient, and mess-free solution that saves you time and effort—no digging or heavy machinery required! 🌱 With the right stump remover and a little patience, you can dissolve that stubborn stump in just 24 hours and reclaim your yard for gardening, landscaping, or relaxation.
Whether you’re tackling a small backyard project or prepping for a new garden bed, this method makes the job simple.
Ready to transform your space? Grab your stump remover, follow the steps, and enjoy the satisfaction of a stump-free yard in no time! For extra peace of mind, check local regulations or consult a pro if you’re unsure. Your perfect outdoor space is just one application away! 🚀