
Pruning
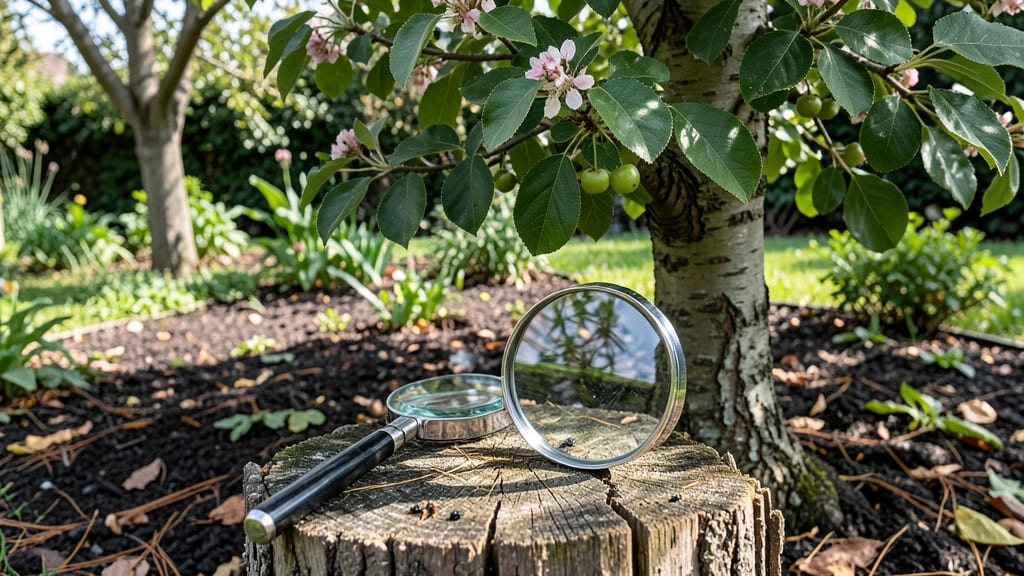
Black flies on your cherry tree aren’t just annoying—they’re stealing your fruit’s future. 🌿 I’ve seen healthy trees turn into skeletal branches overnight when these tiny invaders go unchecked, and the key to stopping them starts with targeted pruning before they spread.
Most people wait until the damage is done, but the real trick is acting early. Black cherry aphids and spotted wing drosophila thrive in dense foliage, so strategic cuts in late winter or early spring—before the flies emerge—disrupt their life cycle.
You’ll remove shelter for eggs and larvae while improving airflow, which weakens their grip on your tree.
What you’ll gain isn’t just saved fruit—it’s a tree that rebounds with vigorous new growth. Pruned branches sprout fresh leaves faster, and the tree’s energy shifts from fighting pests to producing sweet, plump cherries. The payoff? A harvest that makes your neighbors question how you got so lucky.
This works for both sweet and sour cherries, whether you’re in a humid Southeast climate or a drier Western region. The method scales from backyard trees to orchards, and once you master it, you’ll spot infestations before they become full-blown crises. Let’s get those branches trimmed and those flies defeated.
📚 In This Guide
- What you need
- Instructions
- Tips and common mistakes
- Wrapping up and next steps
What you need
- ● Pruning shears: Bypass pruners (sharp, clean, and sterilized with rubbing alcohol to prevent disease spread). Quantity: 1 pair.
- ● Loppers: For thicker branches (1–2 inches in diameter). Quantity: 1 pair.
- ○ Pruning saw: For branches thicker than 2 inches. Quantity: 1 (optional if loppers suffice).
- ● Disposable gloves: Heavy-duty, chemical-resistant (to protect from sap and pests). Quantity: 1–2 pairs.
- ● Rubbing alcohol (70%+): For sterilizing tools between cuts. Quantity: Small bottle.
- ● Plastic bags or bucket: To collect pruned branches and flies. Quantity: 1–2 (for disposal).
- ● Hose or spray bottle: With water to clean tools and rinse sap.
- ● Ladder (if needed): Sturdy, extendable, and rated for your tree’s height. Safety note: Only use if you’re comfortable!
- ● Insecticidal soap or horticultural oil: For post-pruning fly control (follow label instructions!).
- ● Tree wound paint: Controversial—some experts say it’s unnecessary; others recommend it for large cuts. Use sparingly.
- ● Notebook & pen: To map out pruning cuts and track progress.
- ● Safety glasses: If debris might fly (e.g., dry branches).
Targeted pruning steps to control black fly on cherry trees
Here's how to prune strategically and break the black fly life cycle.
🌿 Step 1: Identify Infested Branches and Prune in Late Winter
Black flies overwinter in egg form on last year's growth, so timing matters. Grab your pruning shears and start when the tree is fully dormant—between late February and early March—before buds swell. Look for branches with thin, wilted leaves or blackened buds from last season's infestation. These are your priority targets.
I always cut back to a healthy outward-facing bud just above the infested area. This ensures new growth will develop away from the center of the tree, improving airflow. Make clean cuts at a 45-degree angle about ¼ inch above the bud—this prevents water from pooling and rotting the branch. If a branch is completely dead, remove it entirely at the branch collar.
✂️ Step 2: Thin the Canopy for Better Airflow and Sunlight
Black flies thrive in dense, shaded areas where moisture lingers. Your goal is to open up the tree's interior by removing 20-30% of the canopy. Focus on branches that cross or rub against each other—these create perfect hiding spots for flies and their eggs. Use your pruners to remove entire branches at their point of origin, cutting just outside the branch collar.
Here's the thing—don't overdo it. You're not trying to turn your cherry tree into a lollipop. Aim for an open vase shape that lets sunlight reach the center. You'll see the difference immediately: fewer wet spots where flies lay eggs and better fruit development as the tree focuses its energy on healthy growth.
🌱 Step 3: Apply Pruning Wound Treatment and Monitor New Growth
Once you've finished pruning, it's time to protect those fresh cuts. Grab your pruning sealant (like Tanglefoot Tree Wound Pruning Sealer) and apply a thin layer to all cuts larger than ½ inch in diameter. This prevents fungal infections that can stress the tree further. For smaller cuts, leave them open—they'll heal naturally with the tree's protective callus.
Watch the tree closely over the next 4-6 weeks. You're looking for new growth from the buds you left behind. Healthy growth should be bright green and vigorous. If you see any yellowing leaves or stunted shoots, that branch might still be harboring flies—prune it out immediately. This is your chance to catch any lingering infestations before they spread.
☀️ Step 4: Follow Up with Seasonal Maintenance Pruning
Black flies are persistent, so don't stop after the initial prune. In early summer, do a quick check for newly hatched flies (tiny black insects on leaves) or sticky honeydew (a sign of their feeding). Remove any suckers (shoots growing from the base) and water sprouts (vertical shoots growing from branches)—these are prime fly hotspots.
Here's what I do: I prune these out on a dry day when the tree isn't stressed. Use sharp pruners to make clean cuts, and sterilize your tools with rubbing alcohol between cuts to prevent spreading any disease. You'll see the difference in fruit quality by harvest time—fewer flies mean fewer damaged cherries and healthier tree overall.
Tips & tricks for targeted pruning to control black flies
These simple adjustments will help you prune like a pro and keep your cherry tree healthy all season.
Timing is Everything: The late February to early March window is critical for Step 1 because that's when black flies are still in their dormant egg stage. If you prune too early, you might miss some infested branches. Too late, and you risk disturbing emerging buds. I always check for the first signs of bud swelling—when you see tiny green tips peeking out, it's time to stop pruning.
Visual Cues for Healthy Growth: In Step 3, when monitoring new growth, look for these visual clues: healthy leaves should be a vibrant green color, not yellow or brown. The new shoots should be firm to the touch, not soft or mushy. If you notice any sticky residue on leaves after pruning, that's a sign of honeydew from feeding flies—time to do another round of targeted pruning on those areas.
Tool Maintenance Matters: For Step 4's seasonal maintenance, keep your pruning shears sharp and clean. Dull blades tear branches instead of making clean cuts, which stresses the tree and invites disease. I sterilize my tools with rubbing alcohol after every few cuts—this prevents spreading any potential fungal infections between branches. A good pair of bypass pruners will last you years if you take care of them properly.
Alternative Pruning Approach: Optional: If you're dealing with a very large cherry tree, consider using a pole pruner for higher branches. This lets you reach those tricky spots without needing a ladder. Just make sure to wear gloves and eye protection—those branches can be heavy and full of surprises when you cut them!
Pro Tips for Black Fly On Cherry Tree
- These simple adjustments will help you prune like a pro and keep your cherry tree healthy all season.
- Timing is Everything: The late February to early March window is critical for Step 1 because that's when black flies are still in their dormant egg stage.
- Visual Cues for Healthy Growth: In Step 3, when monitoring new growth, look for these visual clues: healthy leaves should be a vibrant green color, not yellow or brown.
Frequently asked questions
Got questions about black flies on your cherry tree?
You’re not alone! Here are some of the most common concerns—and straightforward answers—to help you tackle the problem effectively.
When do black flies (cherry fruit flies) typically attack cherry trees?
Black flies, or Rhagoletis indifferens, usually lay eggs on cherry trees in late spring to early summer (May–June), just as the fruit begins to ripen. The larvae then burrow into the fruit, causing damage. Timing is key—monitor your tree closely during this window to catch infestations early!
How can I tell if black flies are the issue vs. other pests?
Look for these telltale signs:
- Small, dark flies buzzing around ripe cherries.
- Punctures or exit holes in the fruit (larvae chewing their way out).
- Premature fruit drop or mushy, discolored cherries.
Are there organic ways to control black flies without chemicals?
Try these eco-friendly methods:
- Prune heavily in late winter to remove overwintering sites (see our pruning guide!).
- Use yellow sticky traps to catch adults during peak activity.
- Apply kaolin clay (like Surround WP) to fruit to deter egg-laying.
- Introduce beneficial nematodes (like Steinernema carpocapsae) to target larvae in soil.
How long does it take to see improvement after pruning?
Pruning alone won’t eliminate black flies overnight, but it reduces hiding spots and improves airflow, making your tree less attractive to pests. With consistent pruning + monitoring, you’ll likely see 30–50% fewer infested fruits within 1–2 seasons. Pair it with other controls for faster results!
Can I still harvest cherries if black flies are present?
Yes, but act fast! Pick infested fruit immediately to stop the cycle—don’t let larvae mature. For healthy cherries, harvest in the coolest part of the day (flies are less active then). If damage is severe, consider culinary uses (jams, pies) where texture isn’t critical.
Wrapping up and next steps
Dealing with a black fly infestation on your cherry tree doesn’t have to be overwhelming—targeted pruning and proactive care can restore its health and productivity! 🌿 By removing affected branches, improving airflow, and applying organic or chemical treatments, you’re giving your tree the best chance to thrive.
Remember, consistency is key, so keep monitoring and adjusting your approach as needed.
Ready to take action? Start by inspecting your tree this week and implementing the steps you’ve learned. Your cherry tree—and future fruit harvests—will thank you! 🍒 For extra support, consider consulting a local arborist or gardening community for tailored advice.