
Pruning
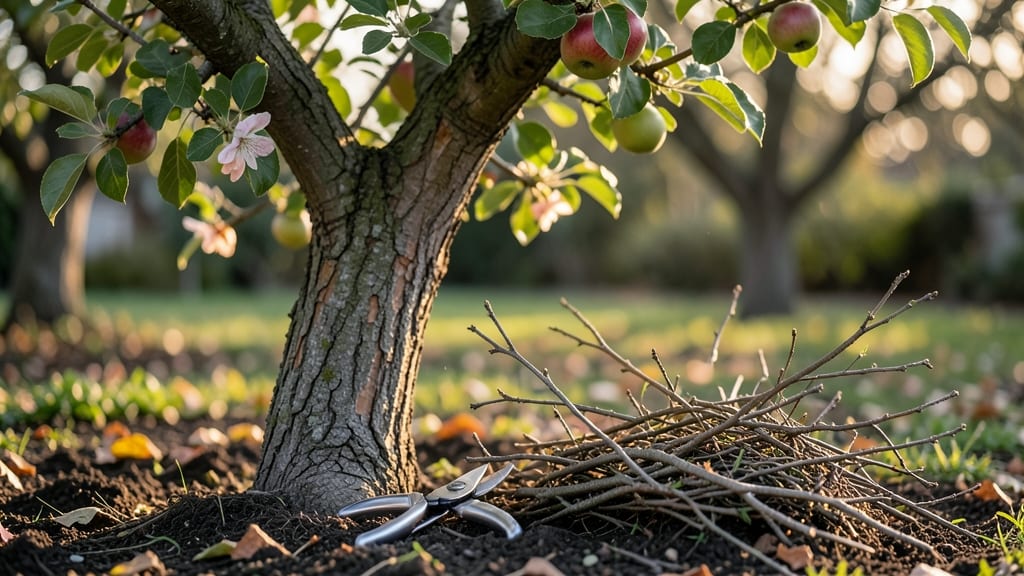
Pruning your apple tree the wrong way can turn a healthy orchard into a sad, bare skeleton—something I learned the hard way after my first winter pruning disaster. 🌳 The most common mistakes—like cutting too late, leaving stubs, or over-thinning—don’t just look bad; they invite disease, stunt growth, and leave your tree vulnerable to storms.
I’ve fixed enough damaged branches to know the difference between a pruning job that sets your tree up for years of fruit and one that leaves you shaking your head at the sight of dead wood.
Here’s the thing—most pruning mistakes happen because we rush or don’t understand what the tree needs. You don’t need fancy tools, just sharp pruners, a ladder, and a clear plan for shaping the tree’s structure.
The key is timing: prune in late winter while the tree is still dormant, but before buds swell, and always make clean cuts just outside the branch collar. Skipping these basics leads to weak growth, sunburned bark, and branches that snap under fruit weight.
By the end of this, you’ll recognize the warning signs of poor pruning—like water sprouts, dead branches, or a lopsided canopy—and know exactly how to fix them. Your tree won’t just survive; it’ll thrive, producing stronger wood, better fruit set, and fewer headaches in the years ahead.
Let’s turn those regrets into a plan that actually works.
Whether you’re dealing with an overgrown mess or just want to avoid future mistakes, the fixes are simpler than you think. We’ll cover how to revive damaged branches, when to prune for maximum recovery, and the one cut that changes everything. No more guessing—just results.
📚 In This Guide
- What you need
- Instructions
- Tips and common mistakes
- Wrapping up and next steps
What you need
- ● Pruning shears: Bypass pruners (for cuts up to ½ inch thick) or loppers (for cuts up to 1.5 inches thick). Choose sharp, stainless-steel blades to prevent tearing.
- ● Pruning saw: A curved-tooth pruning saw for larger branches (1.5+ inches). Look for a non-serrated edge to avoid splintering wood.
- ● Gloves: Heavy-duty, cut-resistant gloves (like those with Kevlar or titanium fibers) to protect from thorns and sharp tools.
- ● Disinfectant: A 70% isopropyl alcohol spray or bleach solution (1 part bleach to 9 parts water) to sterilize tools between cuts and prevent disease spread.
- ● Work boots or sturdy shoes: With non-slip soles—apple orchards can get muddy!
- ○ Pruning sealant (optional): A tree wound paint (like Tanglefoot Tree Wound Pruning Sealer) for cuts larger than 2 inches in diameter. Note: Many experts debate its necessity—skip if unsure!
- ● Tarp or drop cloth: To collect fallen branches and debris (a 4x6 ft canvas tarp works well).
- ● Ladder or step stool: A stable, extendable ladder (rated for at least 250 lbs) if your tree is over 6 feet tall.
- ● Notebook & pen: To jot down notes on branch angles, cuts, or future pruning plans.
- ● Safety gear: Safety glasses (to shield from debris) and a long-sleeve shirt (to protect from thorns and sun exposure).
- ● Know your tree’s age and variety: Young trees (light pruning, while mature trees may require structural adjustments. Research your apple tree’s specific needs!
- ● Check the weather: Prune on a dry, cloudy day (avoid windy or rainy conditions). Ideal temps: 40–70°F.
- ● Timing matters: Best time to prune apple trees is late winter or early spring (just before buds swell) to avoid disease spread.
- ● Inspect for pests/disease: Look for signs of fire blight, apple scab, or borers. Treat infected branches before pruning to contain spread.
How to prune apple trees without causing damage
Pruning right saves your tree from stress and disease—here’s exactly what to do (and avoid).
✂️ Step 1: Identify Dead, Diseased, or Damaged Branches First
Start by scanning the tree for branches that are completely dead (no green bark or buds), diseased (mushrooms, cankers, or oozing sap), or damaged (broken, split, or hanging). These must go first—they’re no longer productive and can spread problems to healthy wood. Use your fingers to gently scrape the bark: if it’s dark, crumbly, or smells rotten, it’s a candidate for removal.
I like to mark these branches with a piece of twine or tape before cutting. This keeps me from accidentally skipping them when I get to the shaping stage. Remember: never leave dead wood on the tree—it’s a magnet for pests and disease. If a branch is too thick to cut with hand pruners, borrow a pruning saw from your neighbor or hardware store. Just don’t rush this step—cutting too soon can leave the tree vulnerable.
🌿 Step 2: Thin the Canopy for Airflow and Light
Next, focus on thinning the tree’s interior to let sunlight and air reach the center. Look for branches that cross or rub against each other—they’ll eventually tear and create wounds. Aim to remove 20-25% of the tree’s total volume over the entire pruning session, but never take more than 25% in one year. This prevents shock and keeps the tree healthy.
I target branches that grow inward or downward, as they block light and crowd the center. Cut these back to a bud or lateral branch that’s growing outward. Always cut just above a bud that faces the direction you want the new growth to go. If you’re unsure which way is “outward,” imagine the branch continuing its natural path—you’re guiding it, not forcing it.
☀️ Step 3: Shape the Tree for Balance and Fruit Production
Now it’s time to shape the tree’s overall form. Apple trees thrive with an open-center structure, where light can reach the center branches. Start by removing any suckers (shoots growing from the base or trunk) and water sprouts (fast-growing vertical shoots). These drain energy from fruit production. For larger branches, use the three-cut method to avoid tearing the bark: first, make an undercut, then an overcut, and finally, twist the branch off cleanly.
Pay attention to the tree’s natural growth pattern. If one side is heavier, prune slightly more on that side to restore balance. Avoid cutting back the leader branch (the central vertical stem) unless it’s dead or damaged—this can stunt the tree’s growth. Instead, focus on the scaffold branches (the main horizontal limbs) to maintain structure. If you’re unsure which branches to keep, step back and visualize the tree’s silhouette—it should look like a natural, open vase.
⏰ Step 4: Clean Up and Protect the Tree
After pruning, gather all the cut branches and dispose of them in a sealed trash bag. Never leave clippings on the ground—they can harbor diseases and pests. If you’re dealing with diseased wood, sterilize your pruners with rubbing alcohol between cuts to prevent spreading pathogens. Seal larger wounds (over ½ inch in diameter) with a pruning sealant to protect the tree from infection.
Finally, water the tree deeply to help it recover. Mulch the base with 2-3 inches of organic mulch, keeping it a few inches away from the trunk to prevent rot. This step is often overlooked, but it’s crucial for reducing stress. Avoid pruning during extreme heat or cold—late winter or early spring (just before buds swell) is the ideal time. You’ll know you’ve done it right when the tree looks balanced, with light reaching all the way to the center and no dead or crowded branches.
Tips & tricks for pruning apple trees without mistakes
These practical tricks will help you avoid the most common pruning errors that weaken your tree.
Visual Inspection First: Before making any cuts, examine each branch closely for subtle signs of disease. Look for tiny cracks in the bark or discolored patches that might not be obvious from a distance. I’ve learned this the hard way—skipping this step can mean leaving hidden problems that spread later. Use a magnifying glass if needed, especially on older trees where issues can hide beneath layers of bark.
Marking System Saves Time: Grab some colored twine or painter’s tape and mark branches you’ve identified for removal. I use red for dead/diseased branches and green for structural cuts. This simple system prevents you from accidentally skipping branches or making unnecessary cuts. Pro tip: Take a quick photo of your marked branches before you start cutting—it’s a visual reference if you get distracted.
Bud Direction Matters: When cutting branches in Step 2, always aim to leave a bud facing outward. This guides future growth in the right direction. I find it helpful to visualize the branch continuing its natural arc—where it’s pointing now is where it wants to grow. If you’re unsure, make your cut just above the first outward-facing bud you see along the branch’s length.
Cleanup is Critical: After pruning, immediately gather all cuttings and dispose of them in a sealed trash bag. Leaving branches on the ground creates a perfect environment for diseases to spread back to your tree. For diseased wood, sterilize your pruners between cuts with rubbing alcohol—this small step prevents cross-contamination that could ruin your entire tree.
Pro Tips for Apple Tree Pruning Mistakes
- These practical tricks will help you avoid the most common pruning errors that weaken your tree.
- Visual Inspection First: Before making any cuts, examine each branch closely for subtle signs of disease.
- Marking System Saves Time: Grab some colored twine or painter’s tape and mark branches you’ve identified for removal.
Frequently asked questions
Got questions about apple tree pruning? You're not alone! Here are answers to the most common concerns—so you can avoid costly mistakes and keep your tree thriving.
When is the best time to prune an apple tree?
The ideal window is late winter to early spring (just before buds swell) or summer after harvest. Avoid pruning in fall—it invites disease and pests. For young trees, focus on shaping in late winter, while mature trees benefit from light summer pruning to encourage fruit production.
What if I prune at the wrong time?
Pruning too late in winter can stress the tree, while summer pruning (after July) may stimulate late-season growth that won’t harden off before frost. If you’ve already pruned at the wrong time, monitor for stress signs (yellowing leaves, oozing sap) and avoid heavy cuts until the next dormant season.
Can I use regular scissors or hedge trimmers?
Never! Use clean, sharp bypass pruners (for branches <½" thick) or a pruning saw for thicker limbs. Dull tools crush branches, inviting disease. Sterilize tools with rubbing alcohol between cuts to prevent spreading fungal infections like apple scab.
How do I know if I’ve pruned too much?
If more than 25% of the tree’s foliage is removed in one season, it’s over-pruned. Signs include excessive water sprouts, weak growth, or no fruit production. To recover, reduce cuts by half next year and focus on small, strategic trims to encourage regrowth.
Why are my pruned branches oozing sap or dying?
Sap oozing is normal for 1–2 weeks post-pruning, but blackened, mushy wood signals disease (like fire blight) or crushed tissue from dull tools. If branches die back, prune 6–12" below the damage and sterilize tools. For severe cases, apply a copper fungicide to prevent spread.
Pro Tip:
Label branches with waterproof tape before pruning to track progress—helps you avoid accidental over-cutting and ensures balanced growth.
Wrapping up and next steps
Pruning your apple tree might seem tricky, but avoiding common mistakes like over-pruning, poor timing, or ignoring dead wood can make all the difference! With the right tools, techniques, and a little patience, you’ll nurture a healthier, fruit-bearing tree that thrives for years. 🌳✨
Ready to take action? Grab your pruners, review your notes, and schedule that pruning session—your tree (and future harvests!) will thank you.